How To Transfer Photos: Tote Bag Edition!
Customize any tote easily with this tutorial!


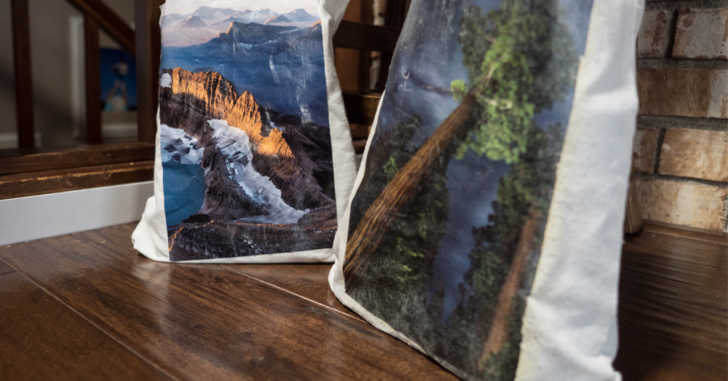
We’ve seen how to transfer photots to wood, and even on a cutting board, but how about fabric? In this tutorial, you’ll get the full instructions on everything you need to know for photo transfers. The key, as with most amazing crafts, is patience. It is important to let things dry overnight, and to go slowly while peeling back the top layer of paper. We found that working in small circles is the most efficient way of scrubbing off the top layer without damaging the bottom layer. This project turned out great, and we can’t wait to customize more tote bags!! See how it’s done inthe video below.
Supplies:
– Canvas bag
– Photo from a magazine
– Liquitex Gloss (Gel Medium)
Directions:
1. Cut out image from magazine, try to find one that would look good worn & torn (words will be printed backward).
2. Brush generously with liquitex.
3. Place photo face down on canvas bag. Let dry overnight.
4. Working in sections, spray with water and brush off outer layer of paper until image starts to come through below.
5. Finish with a sealer, like mod podge.
More to Explore
SKM: below-content placeholderWhizzco for CRH