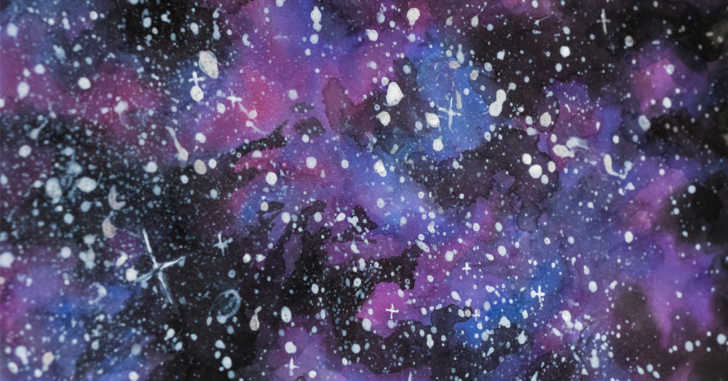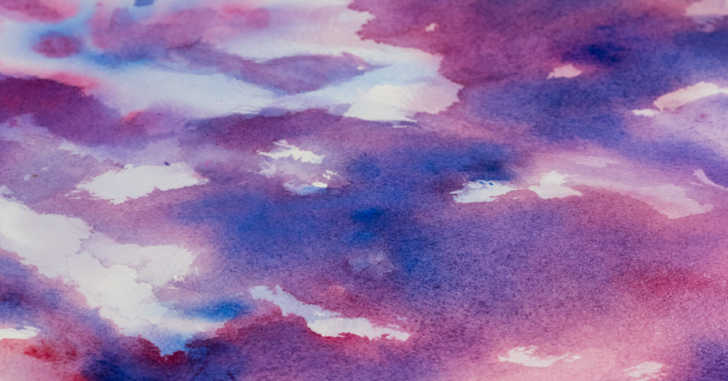
This galaxy painting is absolutely stunning! It looks so complicated and intricate, but really it’s all in the technique of layering. This is the perfect first project for anyone interested in watercolors. We promise the process is super simple! You’ll master these techniques in no time. How much fun would this project be to do with the kiddos? Just make sure you cover the area with lots of newspaper!
Go ahead and see how we did it in the video below and try it out for yourself! Check out our landscape painting tutorial here!
Supplies:
– Watercolor paint
-Watercolor brushes
-Watercolor paper
-Spray bottle
-Paper towels
-Dish
-Pallette(s)
-White acrylic paint
-Old toothbrush

Directions:
1. Spray paper with a light coat of water and spread all over paper with your biggest brush. Hold spray bottle high above paper – and make sure bottle is set to ‘mist’ setting
2. With a medium/large size brush, paint blotches of color. We used red, blue, and purple. Let the brush do the work, so don’t press down too hard on the paper. Move the brush around randomly, creating a variegated color pattern. Align different colors next to each other – such as blue – magenta – pink – violet – blue etc. Let the colors bleed together.
3. Cover the whole page with color, and let your painting dry completely.
4. Repeat steps 2-3 until color is rich and vibrant.
5. Pick a pattern – such as a line, a ring, or simply clouds, and repeat steps 2-3, except use only black. Paint all areas except where you want your pattern to appear. This will build the general ‘space’ feel. Continue until the black areas are rich and dark.
6. Mix white acrylic paint with a little water, and splatter using a brush for big stars. Use a toothbrush for smaller stars – running your finger along the bristles. Do big stars all over, and small stars mostly in your area with color.
7. Let dry, frame, and hang!
SKM: below-content placeholderWhizzco for CRH

