
‘Tis the season for counting down to the biggest holiday celebration of the year – and one of many beloved traditions of the holiday season is an Advent calendar. Advent calendars come in a variety of forms, from paper chains to boxes filled with festive treats or gifts. And while it’s easy to run out to the store and buy a calendar, we like the idea of making something that is unique and special. A DIY Advent calendar is super easy to put together with a combination of store-bought and simple household materials. Add your own flare with ribbon, sparkles, and even a little candy, if you’d like – any way to make the calendar more personal is a win-win! We’ve put together two Advent calendars that are easy, fun, and a festive way to ring in the holiday season. Check out our video how-to and enjoy a Happy Holiday Season!
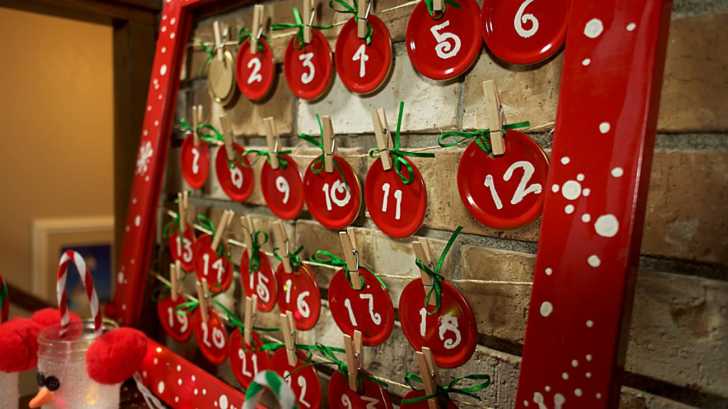
Mason Jar Lid Advent Calendar
Supplies
— Hammer and screwdriver
— 24 mason jar lids
— Spray paint (red, green, gold)
— Empty picture frame
— Twine
— Holiday ribbon
— Medium sized clothespins
— Double-sided tape or Glue Dots
— Craft paint, preferably white
— Paint brushes
— Craft paper or pre-cut paper rounds
Directions
— Hammer hole in lid of mason jar.
— Spray paint lids: one side red, other side green or gold.
— Paint numbers on red side with white craft paint.
— Tie decorative ribbon through the hole in the lid.
— Cut out circles from craft paper or purchase paper rounds. Write “action items” and glue to back side of lid, such as “Deck the halls” or “Donate old toys” – do a quick search online for more ideas on “action” items.
— Paint picture frame.
— Run twine in a zig-zag pattern on back of frame, staple or glue down each end.
— Secure lids to twine with clothespins. Flip for each day of the calendar!
More to Explore
SKM: below-content placeholderWhizzco for CRH