Learn How To Paint Landscapes In This Bob Ross Style Tutorial!
Watch the video, and get a full supply list and step by step written directions here!

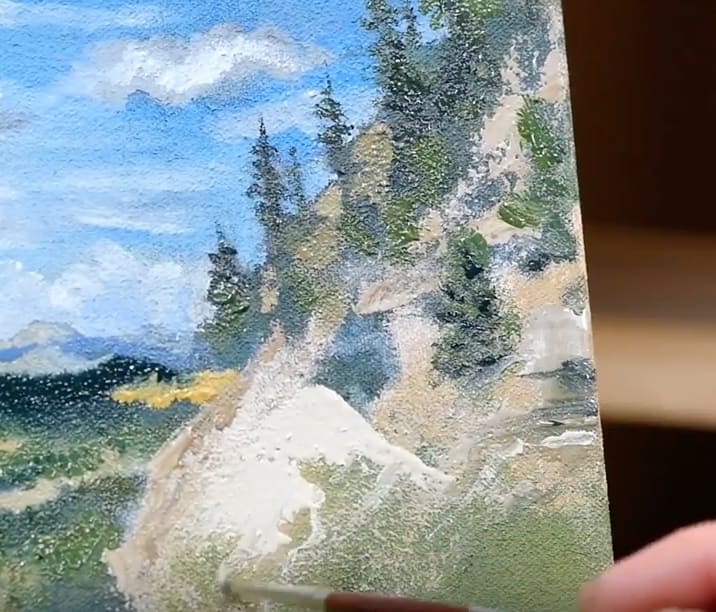
12. Similar to how we did at the beginning, you will want to use your fine brush to create daubs of color that will communicate trees and rocks to the viewer.
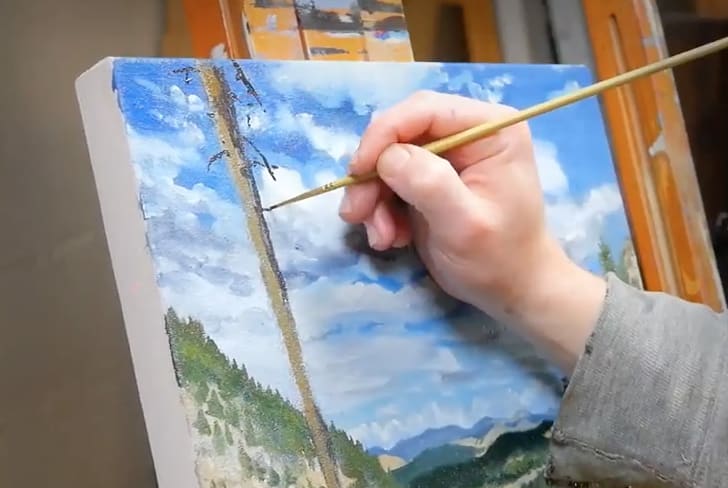
13. Going back to the trees and tree lines that were painted over by the sky, we rebuild them, painting over the sky once again. This allows the trees to boldly stand out – with the sky as a nice backdrop. Also, build your mid-ground foliage using your thin brushes to apply daubs of color. We are a little more precise at this point, but not too precise yet.
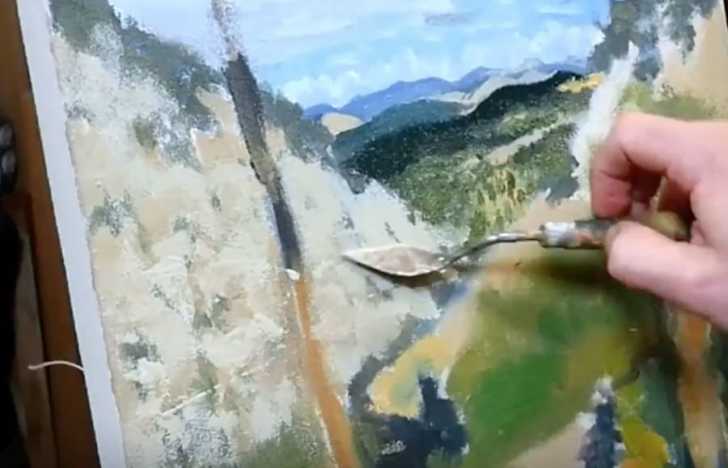
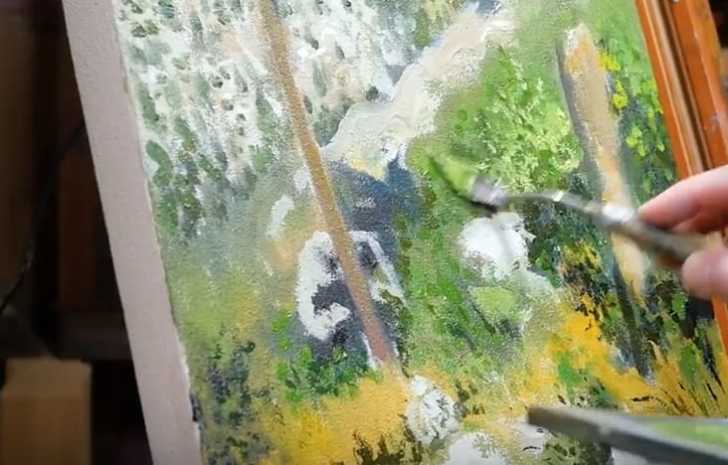
14. Use your palette knife to build texture in the near-mid ground rocks. Getting different shades and light/neutral colors on your knife, scrape it across the canvas, rotating the knife in your hand as you scrape. This will create beautiful random bits of color that provide plenty of variety of color, as well as evoke a very much rock-like quality.
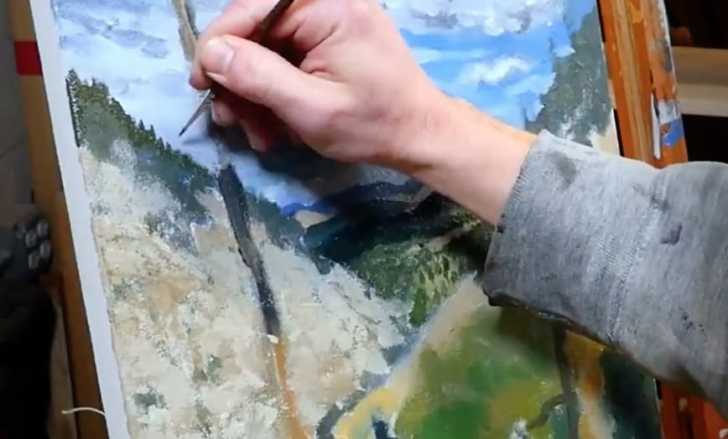
15. As you fill in the trees that are just far enough away to see their true shape, begin by painting the trunk with your fine brush. Then fill out the tree branches working your brush side to side, starting narrow at the top of the tree, and working slightly more and more outwards as you work your way down. For now, we will focus on just the darker shadow of the tree and will add highlights later.
16. Build textures in the rocks by using your fine brush, and leaving the brushstrokes remaining.
17. Build some shadow in the foreground by using your medium brushes and daubing/spreading a thin layer of black/dark brown around the foreground areas. You should still see the color previously applied beneath your black, as this is a light, uneven layer.
18. Let dry completely, then using your thin brushes start to create plant shapes from the shadows using your green and black/dark brown. We are not using pure black yet, instead we are mixing it with a light brown and green. Alternate daubs of color and lines for thick/fat and long/skinny leaves and branches. We are beginning to get more detailed at this point, but are still letting the brush do plenty of work.
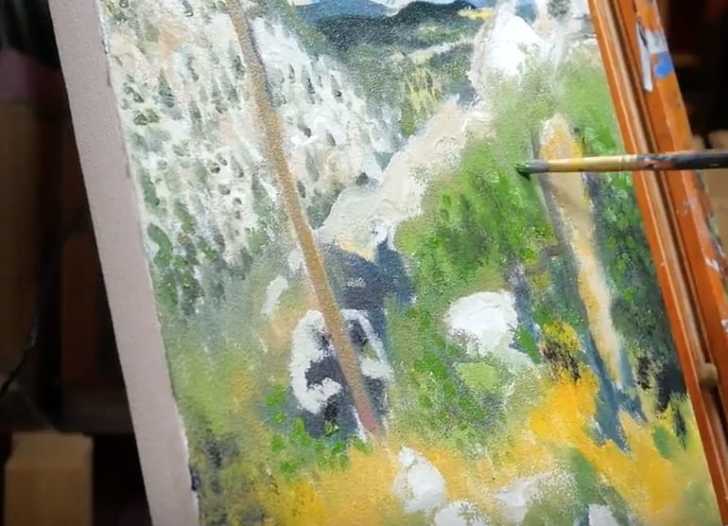
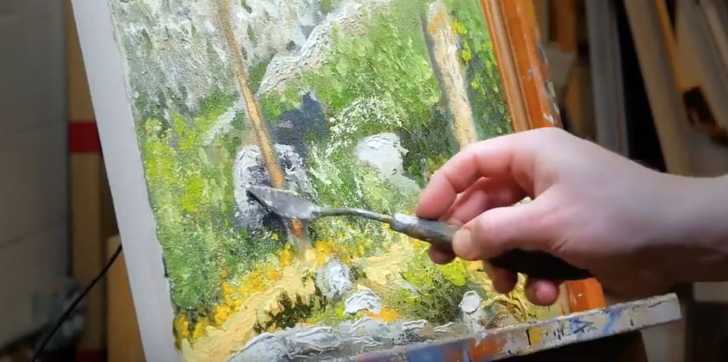
19. Get some thick paint down in some places, as well as thick paint on your palette knife, and press down to give the leafy areas some randomized texture. This should still overall end as a light layer, as you should still see the dark shadow and original green beneath.
20. Continue using your finest brushes and palette knife to create texture and bring color into your foreground. This is where the most texture and color should be, so have fun with it!
21. Now, start to create some clear shapes in the foreground, we don’t need to be perfect. Just a handful of reeds here, some rocks, a branch, and some leaves will do. These provide visual ‘anchors’ for the eye to rest on – as they are clearly recognizable shapes – before traveling to another area. They don’t have to be perfect, but they should give you the sense as to what you are looking at.
22. Now, bring black into the shadows closest to the viewer, most especially in the focal areas. For us, these areas are the two main tree trunks. Use your fine brush – you don’t want to overdo the black.
23. As you build the tree trunks, work in red, yellow and white. Do this by mixing a small amount of each with the main brown color, so you have 4 hues. Then use a fine brush to add tidbits of color here and there – this will give the tree shape. Also, use black to build the shadows of the branches on the trunk, and white to build the highlights.
24. Continue to fill out the tree and nearest foreground areas – using your finest brush. Leave your brushstrokes so they are crisper and stand out more. This creates more texture.
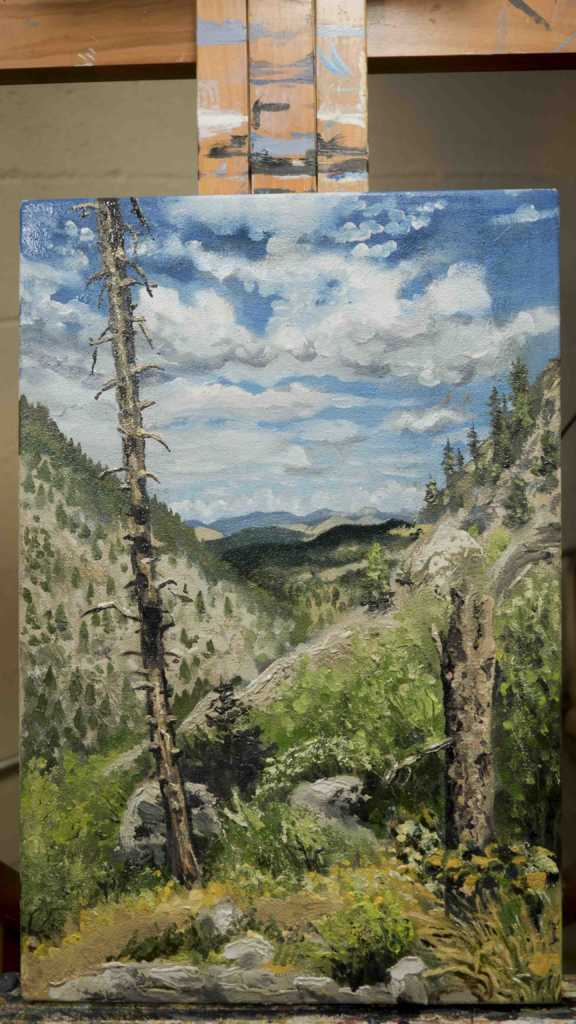
25. Finish by adding any highlights, shadows, mid-tones, scapes, dollops, lines, and shapes as necessary to get your work to a place you’re happy with. The best part about Impressionist painting is it’s done whenever you say so!
26. Let completely dry, then hang. Congrats!
Share your finished painting with us in the comments below!
SKM: below-content placeholderWhizzco for CRH