3 Ways To Transform An IKEA Dresser
Helpful ideas to keep in mind for your next IKEA trip!

IKEA furniture has a reputation, for better or for worse. You have to assemble it yourself, the instructions are usually less than helpful, and the trip to the store itself might just test the limits of your sanity. On the other hand, the furniture is inexpensive, and as we’ll see today, totally customizable. Plus, there are Swedish meatballs involved, so… all in all, not a bad deal. Below are three ways you can transform an ordinary dresser from IKEA into something truly unique!
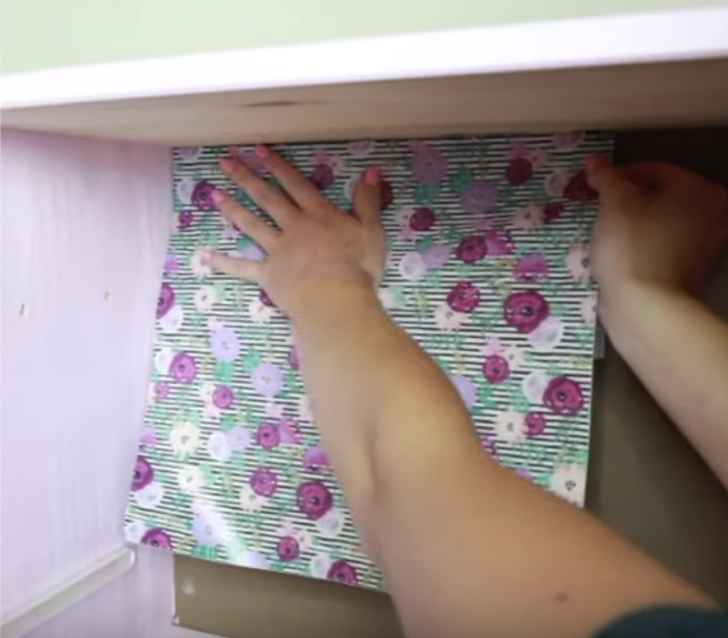
Shelf Space
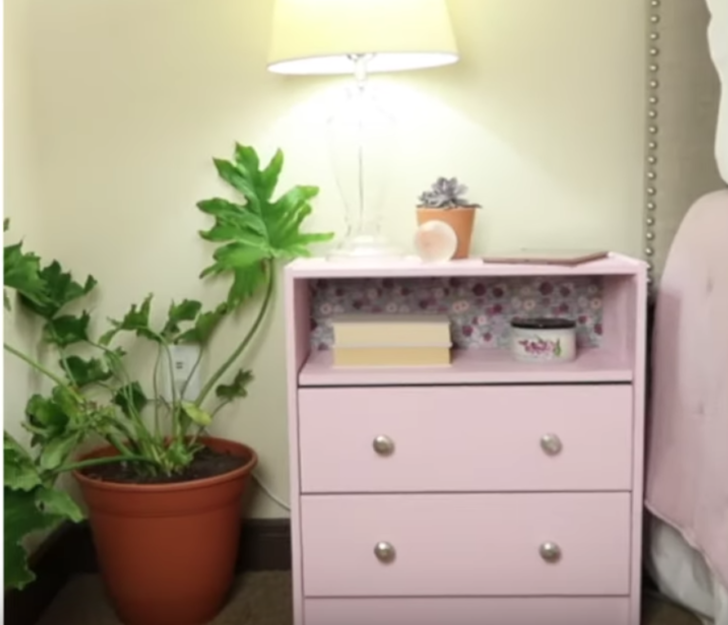
Transform this little dresser into the perfect bedside table by removing the top drawer and adding some decorative vinyl. First things first, though. Paint the dresser whatever color you want. Then, measure out the space left behind from the top drawer and go to your local hardware store for a piece of plywood. Have them cut the wood according to your measurements. Attach it using a few L brackets and screw in place. Then, decorate as you see fit!
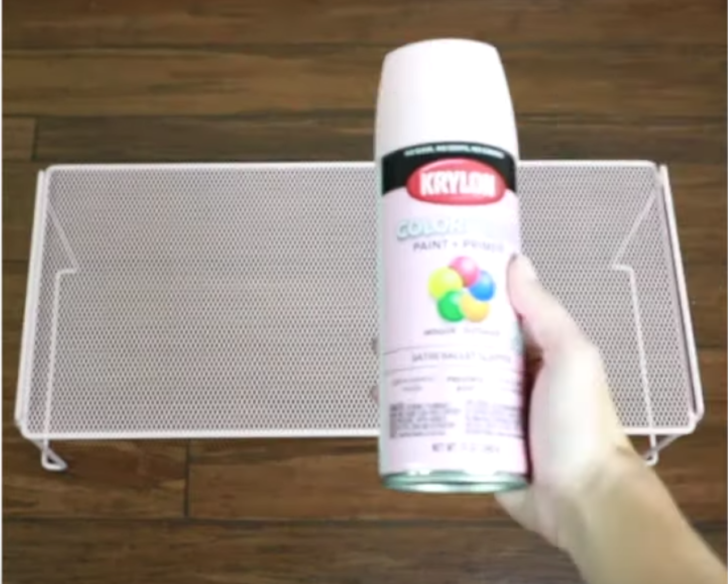
Vertical Storage
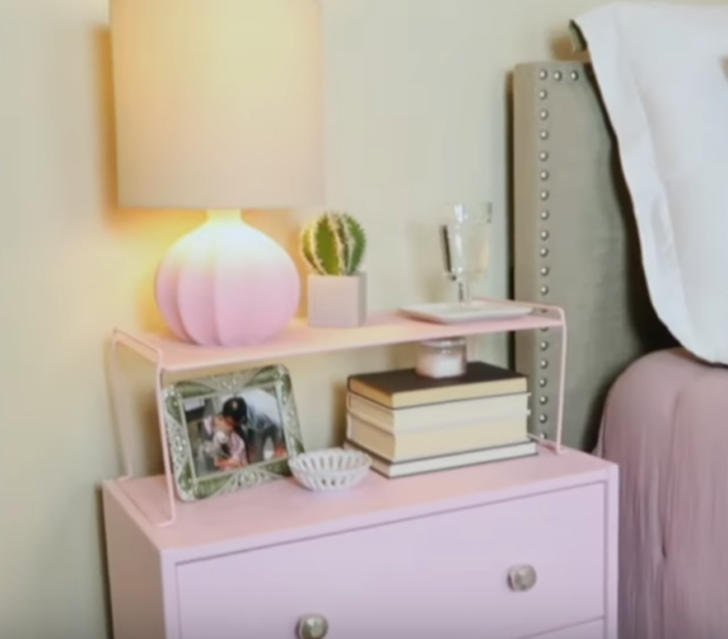
This is the easiest hack that can really be applied to any surface. Simple though it may be, this is such a brilliant idea! Simply grab a wire shelf and spray paint it in a matching or coordinating color to the dresser. Then, set it on top of the dresser and fill it up! It’s so simple, but I bet you’ll be amazed at the difference it makes. For those of us who struggle to keep the clutter under control, this is a life-saver!
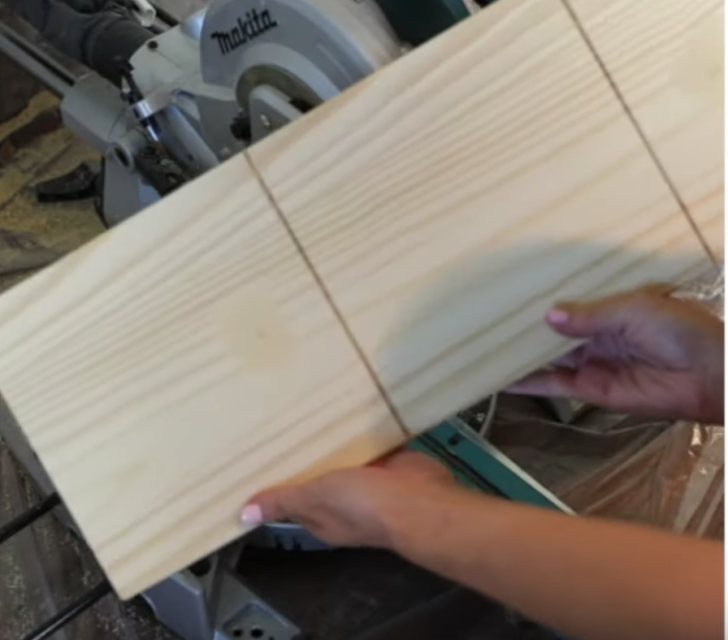
Faux Apothecary
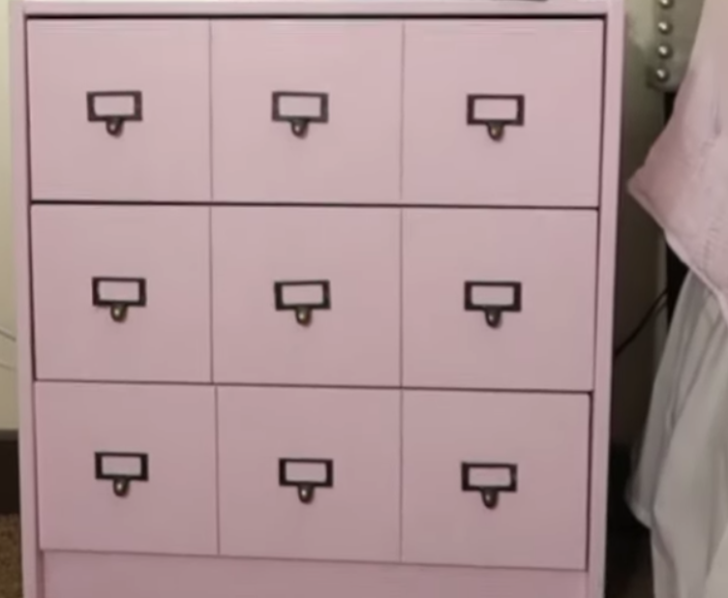
This last idea is definitely a bit more involved, but I think you’ll agree that the results are amazing! Before putting anything together, grab the front part of all the drawers and measure out two lines on each piece, dividing the wood into three equal parts. Then, have the pieces cut, though not all the way through. After that, it’s a matter of painting and marking out spots for the hardware!
Watch the video below for more details on each project!
SKM: below-content placeholderWhizzco for CRH