How To Build Your Own Terrarium
See just how easy it is to build your own little eco system!

Terrariums are very trendy right now, and it’s easy to see why; they are filled with easy to maintain plants, they bring a pop of life to any room or office space, and they are adorable! Unfortunately, terrariums can be a bit pricey – I just saw one the other day for $65! But with just a few penny pinching tips, and a little bit of elbow grease, you can make your own terrarium for much cheaper. Follow the instructions below to make your very own terrarium! We’d love to see pictures of your completed projects in the comments below!
Materials:
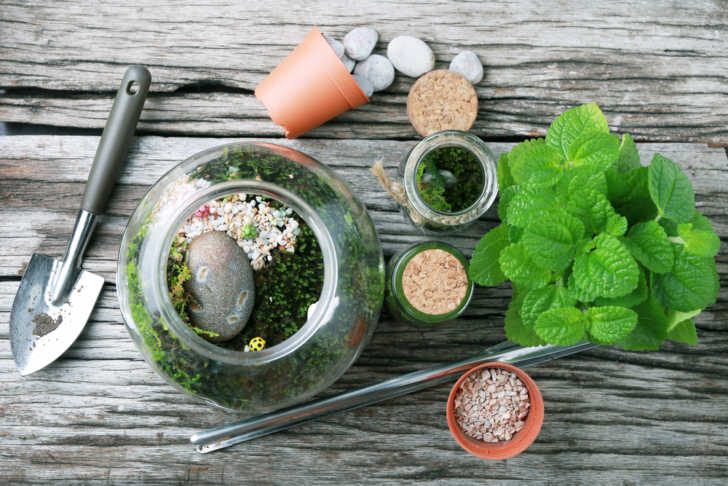
You’ll need just a few things to get started. Most gardeners will have a lot of the materials on hand, but you can pick these things up at your local gardening store for relatively cheap.
1. Glass jars: These can be almost anything you have lying around the house – mason jar, candy jar, a big wine glass, or even a hollowed out light bulb! If you don’t have anything sufficient around the house, save some money by making a trip to the thrift store.
2. Small plants: generally speaking, look for small plants that will fit inside your container and not grow too tall. Keep succulents and cacti together, and fern and tropical plants together, as these plants need different soils and water.
3. Filling: Rocks, pebbles, or even recycled glass chunks will work for your terrarium. You can also purchase moss if you want to go for the classic terrarium feel. Feel free to customize with figurines, sticks, or other types of filling.
4. Potting soil and activated charcoal (or carbon).
5. Tools: Spoon or small shovel, scissors, gloves.
Prepare the Container
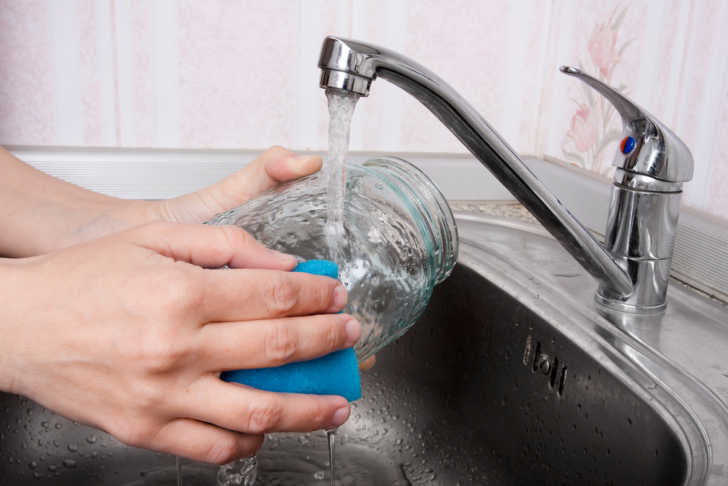
Before beginning, be sure to thoroughly wash and dry the inside and outside of the container, especially if you got it from a thrift store. This will eliminate any unwanted residue that may cause harm to your plants. While cleaning out the jar, picture how you want your plants to be arranged, keeping in mind which plants can be grouped together.
Add Layers
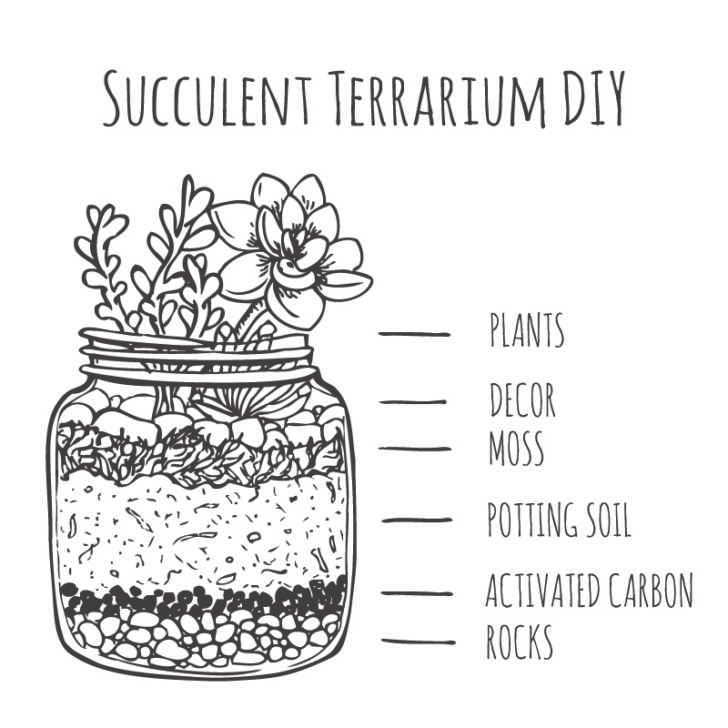
Following the chart above, start adding in layers with your spoon or shovel. Start with a false drainage layer of rocks. This helps water to settle, and not drown your plants. Next, the activated charcoal. This stuff is messy, but it’s worth adding a thin layer, just to cover the rocks. The activated charcoal reduces bacteria, fungi, and odors, as well as providing an overall better environment for your plants to live and grow in. Next, pour in the potting soil. You’ll want to have enough soil so the plant roots will have lots of room to grow. A good rule of thumb is a layer of soil slightly greater than the height of the plant’s current pot.
SKM: below-content placeholderWhizzco for CRH