How To Make Faux Stained Glass With… Elmer’s Glue?
You’ll be surprised how easy it is to get the stained glass look.

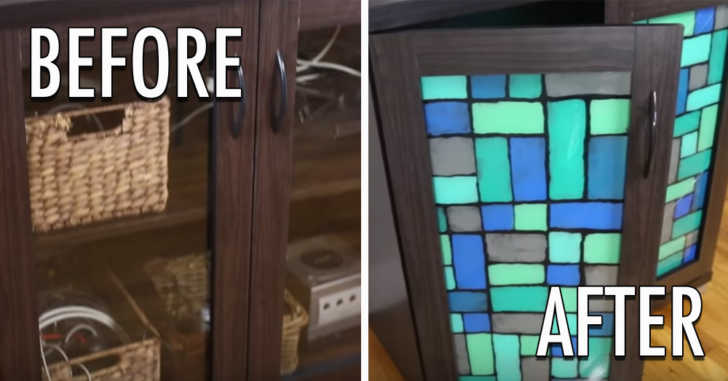
Turn your ordinary, boring glass items into beautiful works of art with this amazing technique! You’ll be surprised how easy it is to get the stained glass look. You can use this fun and creative DIY to spruce up bland furniture like they did in the tutorial below, or you can get really creative and freehand your own works of art on a window! Of course, as with any DIY, it’s up to you how you use it in your life. Keep reading to see how easy this project is!
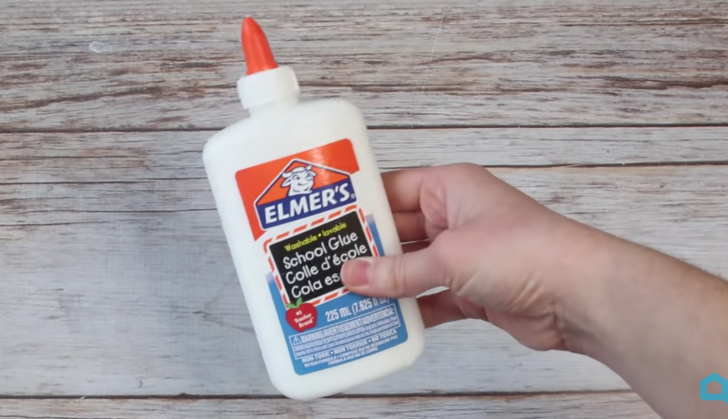
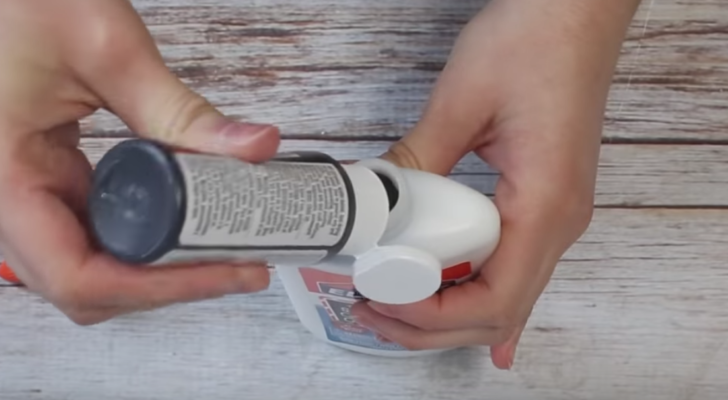
First things first. Grab some white Elmer’s glue, clear Elmer’s glue, and paints. You’ll want black paint as well as whatever colors you want your stained glass to be. With the white glue, add a bit of black paint. The tutorial beow suggests about a tablespoon, but you can eyeball it. Mix the paint in with the glue using a skewer.
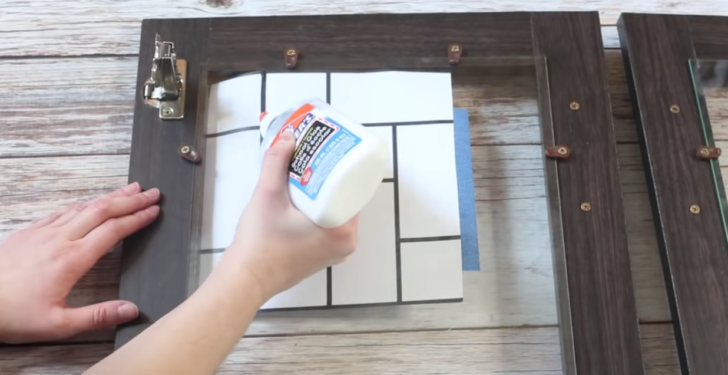
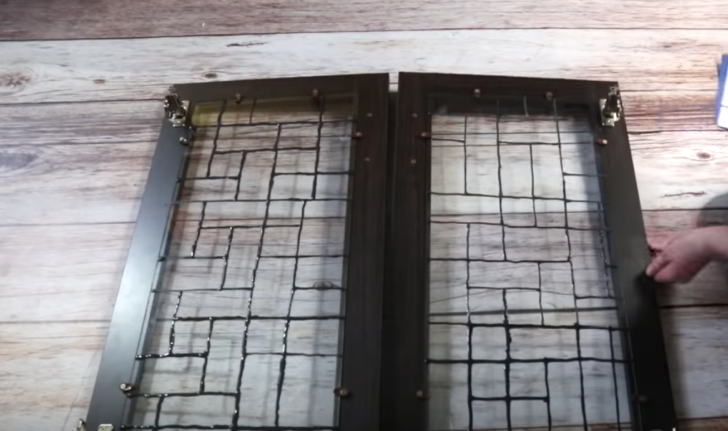
Once the glue and paint have been mixed, you can either print out a design to trace, orgo crazy with a freehand drawing. Whichever option you choose, make sure to just do the outline, leaving enough space between lines for the next step. Once you’re done with your design, let the glue dry for 24 hours.
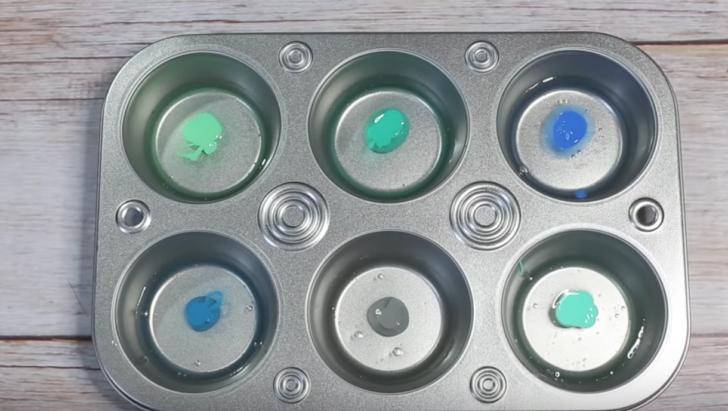
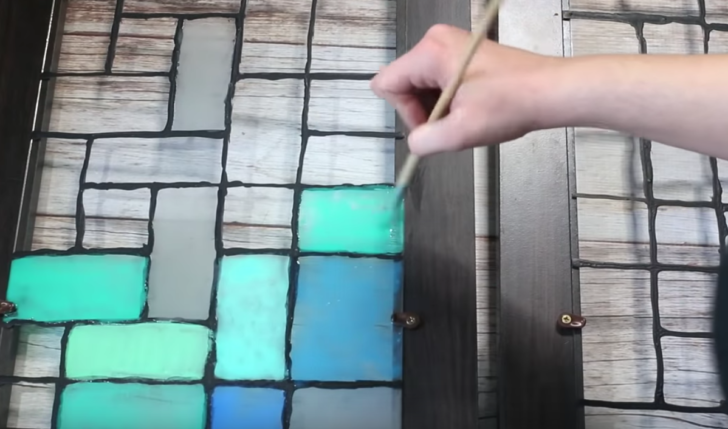
Here’s where things really get fun. Separate your clear glue, whether you use a muffin tin like they do in the tutorial below or small cups. Add a little bit of colored paint to each pocket of glue. Be careful not to add too much, otherwise, the glass won’t be see-through. Once you’re satisfied with your colors and their transparency, go ahead and paint away!
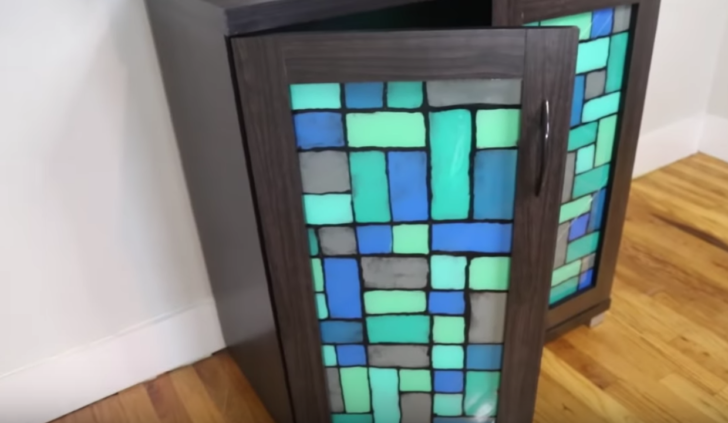
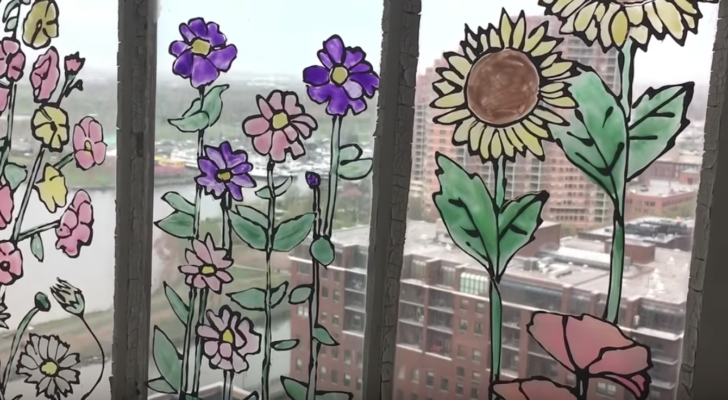
As you can see, the results are stunning! nd the sky really is the limit for what you can do with this brilliant technique. What are you going to paint first? Let us know in the comments below!
Watch the video below for more details!
More to Explore
SKM: below-content placeholderWhizzco for CRH