Easy, Gorgeous Fall Tablescape On A Budget!
Fall is here, which means it’s time to switch out the summer decor in favor of all things autumn!

Fall is here, which means it’s time to switch out the summer decor in favor of all things autumn! That means pumpkins, pinecones, and all of the beautiful colors of fall. We’ve got a great project today – DIY tablescape! We’ll learn how to make ombre pumpkins and a no-sew table runner. We’ll also see how to properly set a tablescape to catch the eye. These same elements would work great for decorating the mantle or any other side table. Go ahead and see how it’s done!
Inspiration
Before you begin picking up things in the dollar section at Target or at your favorite craft store, you need to focus and find your inspiration – that one thing that you’ll base the whole tablescape around. It may seem like a waste of time, but without something to work off of, you’ll end up with a bunch of random things that probably don’t match. You’ll end up not using half of them! Trust us, we know the temptation, but it’s best to go into any decorating project with a plan!
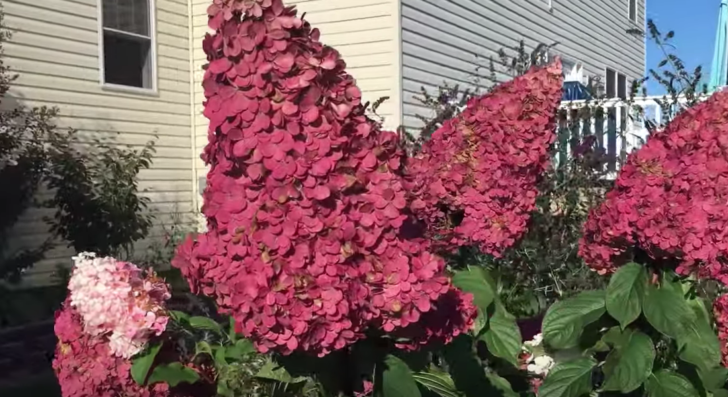
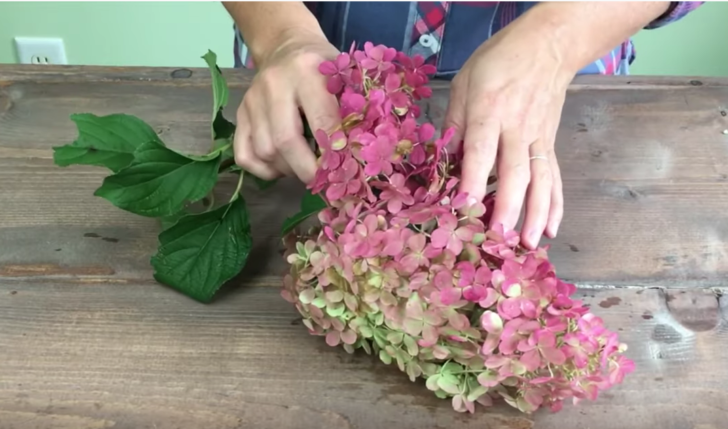
In this case, the inspiration came from a beautiful hydrangea! The colors are not your traditional fall colors, but we think you’ll agree the finished tablescape turned out wonderfully! Of course, you can pick out something more traditional and carry over these same principles.
Ombre Pumpkins
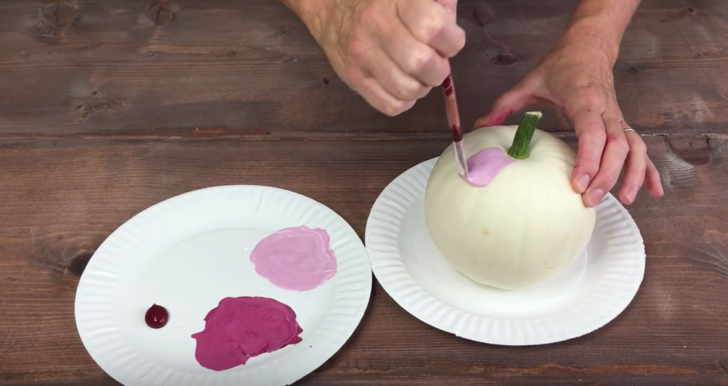
First up: ombre pumpkins. Grab some white pumpkins from your favorite craft store – there will definitely be a lot of options for pumpkins, so pick out whatever fits your table best, whether it’s smaller or on the larger side. Grab an odd number of pumpkins. For this example, there were five pumpkins used
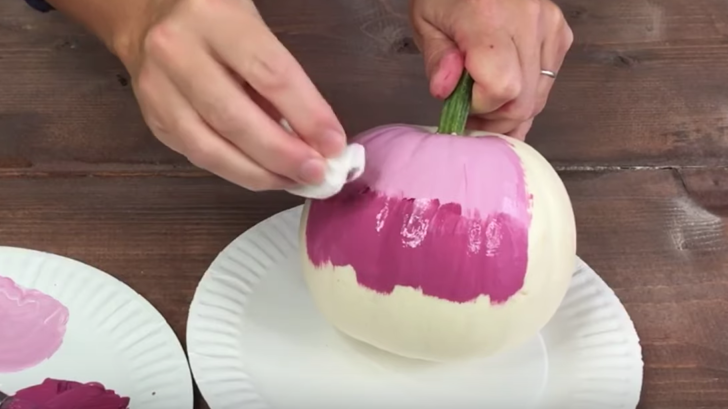
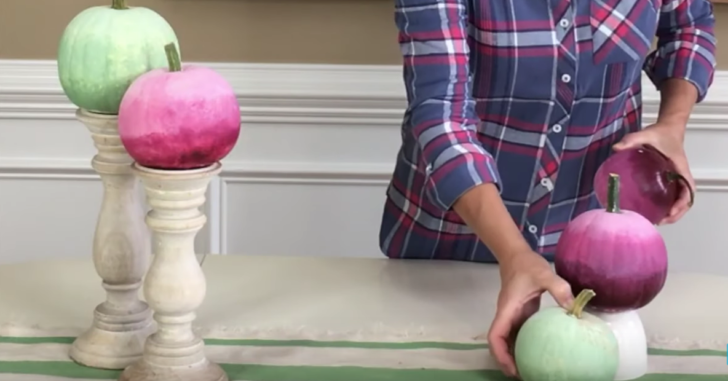
Now for the ombre part. The darkest layer will be the base color – whatever you choose. Then, mix a little bit of white into the base to get a medium shade. Finally, start with white and then add a drop or two of the base color to get your lightest shade. Starting with the lighter color on top, paint about a third of the way down the pumpkin. Then, paint on the medium color, stopping before the last third of the pumpkin and overlapping the lighter color a bit. Now, the key to getting the ombre look is to dab at that harsh line where the colors meet. This blurs and softens the line. Repeat the process with the darker color. Make sure to have ombre pumpkins in a few different colors to make the final project more interesting!
No-Sew Table Runner
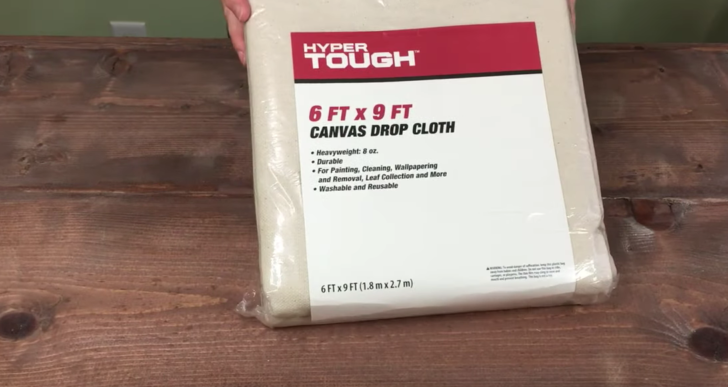
For this easy project, you’ll need a drop cloth, painter’s tape, and craft paint that matches your color scheme. Start by measuring your table and cutting the cloth accordingly. To get the fringes on the side, simply cut a few inches with your scissors, and then rip. A dropcloth is great in that it will pretty much always rip in a straight line! Then, just pull a few vertical pieces of thread, leaving the shorter, horizontal threads hanging around the edges.
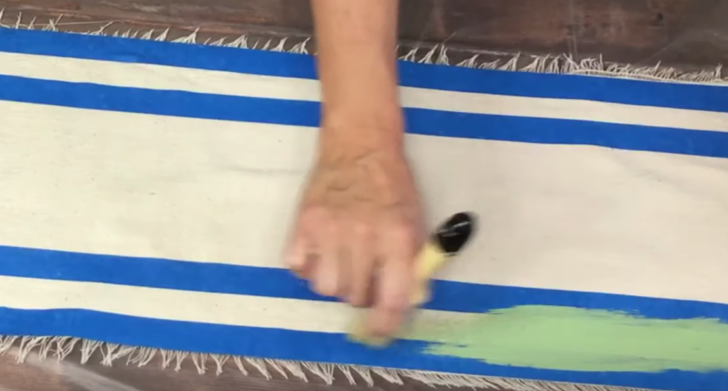
Once you have your drop cloth cut and fringed, section off rows with painter’s tape. Then paint on your color of choice using a sponge. You can use a brush if you want, but we’ve found the sponge easier to work with for material like this. Remove the painter’s tape and let your table runner dry before moving on to the next step.
Setting The Table
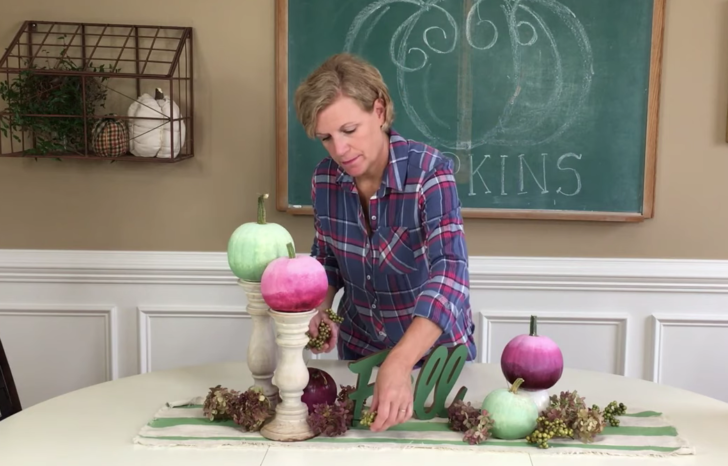
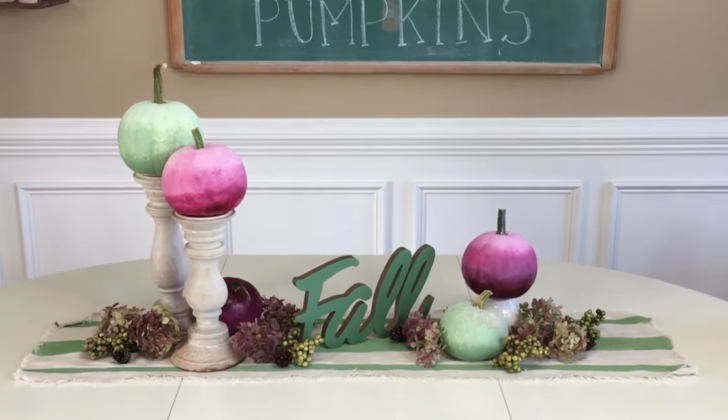
For the final touches, go ahead and grab some synthetic flowers, pinecones, acorns, and whatever else fits your theme. Start by setting up your pumpkins. The first rule of setting a tablescape is height. You’ll want a few different heights, so go ahead and use things like candlesticks or upside-down cups and bowls. Stagger the placement of the pumpkins, grouping a few together on one end of the other, and then another group on the other end. It might be tempting to space out the pumpkins evenly, but you’ll see that grouping them together actually draws the eye and makes for a more interesting scene!
Next, grab your centerpiece, your focal point. Maybe it’s a cute fall sign or the inspiration for your whole tablescape. Then, place your synthetic flowers, acorns, pinecones, and whatever other little elements you found, filling in the gaps between the pumpkins. A fun thing to add is LED candles! You can go the extra mile by wrapping them up in fun washi tape that matches.
The Finished Tablescape
Didn’t this turn out beautifully? We just love this fun, easy, inexpensive decor. Make sure to watch the video below for further instructions and more tips on how to set the perfext tablescape.
More to Explore
SKM: below-content placeholderWhizzco for CRH