DIY Lampshade Like The Fabulous String Globes from the 1960s
You can make a completely custom creation.

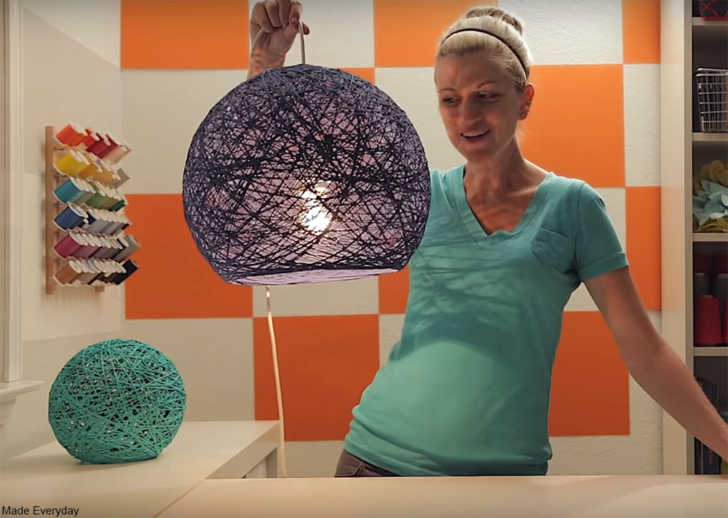
One type of lampshade that instantly recalls the 1960s are spaghetti lights (also called string globes). Back in the day these were made from spun fiberglass. However, you can make your own version from string and some basic supplies you may already have on hand. Much like the vintage versions, the light shining through the string pattern creates a lovely glow which casts ambient shadows on the wall!
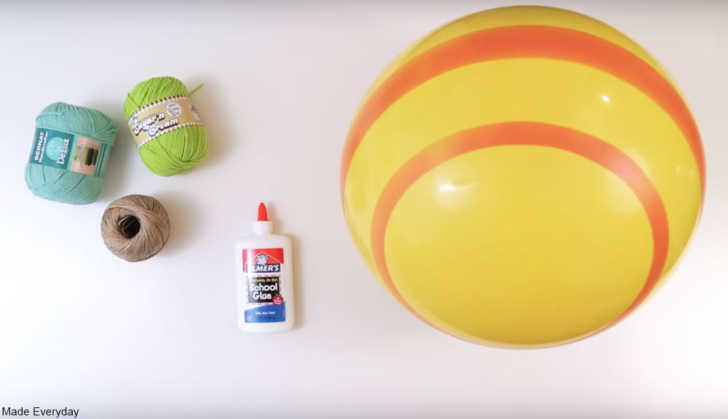
The first step in making this DIY is to gather the materials together. Cotton or hemp string is ideal. You’ll also need two bowls, a small tub of some kind, a bouncy ball in the size you want your shade, and a lot of glue or Mod Podge.
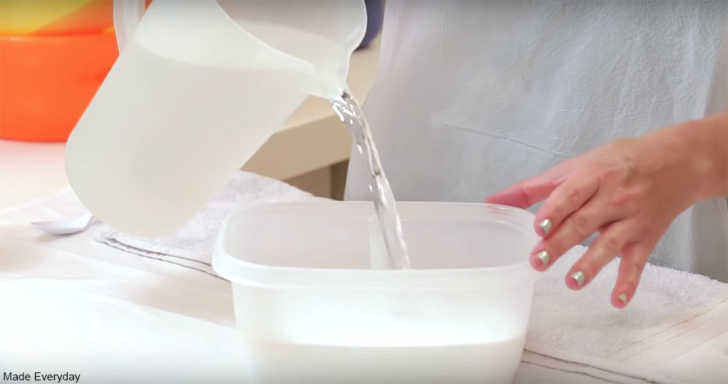
Mix the water and glue together in the tub, about 1:1. Then dunk your entire ball of string into the glue mixture. You can also put down a layer of plastic on your work surface to keep glue splashes from ruining the flooring and furniture.
On the bouncy ball, you’ll want to mark a hole at the top for the lamp cord to go through the finished shade. You’ll also want to mark where the inflator is if you plan to reuse the ball.
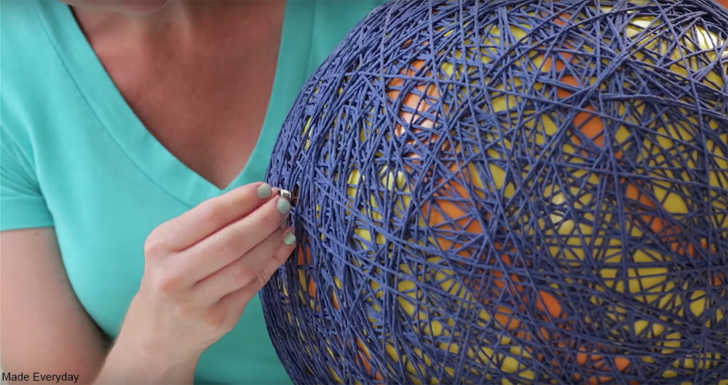
Next, wrap the string around the ball in a criss cross fashion, leaving the bottom 1/3 or 1/2 open for the light to shine down. The top opening will also be left open.
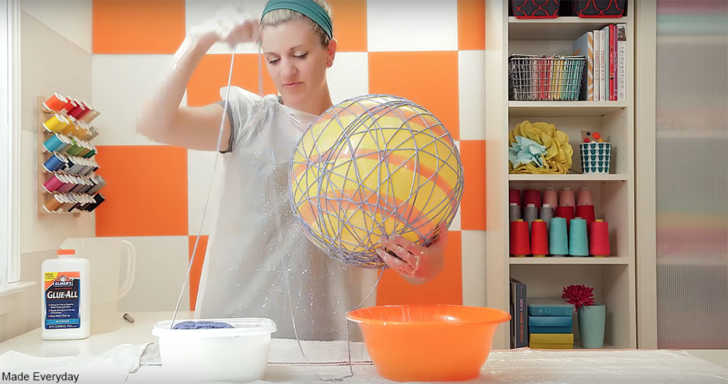
Then any remaining glue mixture is poured over the ball to create a really strong finished product. The whole thing can then be left to dry completely (about 2 days) making sure that the string isn’t touching anything except the ball for the duration of the dry time.
Once dry, the ball can be deflated using a ball pump needle (or scissors if you’re not reusing the ball). A lamp cord kit, a large washer, and a 3/8″ 2-piece clamp connector are needed to transform the globe into a swag lamp.
When lit, the DIY version really is reminiscent of the spun fiberglass shades. But, the originals can be quite expensive to buy today and many didn’t survive unscathed (cracks and yellowing are common with vintage fiberglass shades). Plus the really fun part about this DIY is that you can customize the color, size, even the shape to suit your decor perfectly.
See the whole process in the video below from Made Everyday.
More to Explore
SKM: below-content placeholderWhizzco for CRH