Make A Notebook From Mac-N-Cheese Boxes!
We love using recycled materials for crafting purposes!

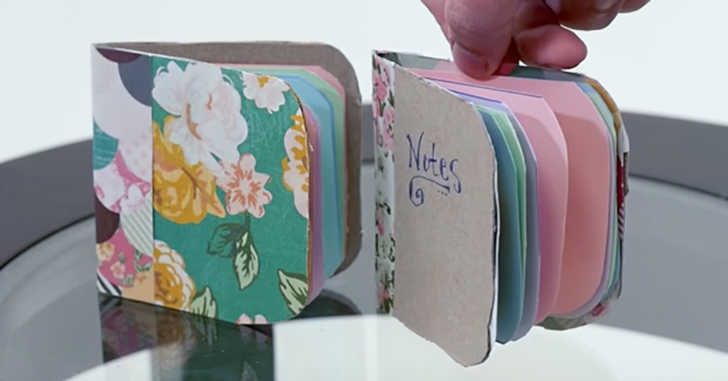
We love being able to use recycled materials for crafting purposes! In today’s craft project, we see how to turn a box of mac-n-cheese into two adorable notebooks. You can make a bigger notebook out of a cereal box, or other larger box. The measurements will be different, but the theory and process are the same! Go ahead and see just how easy these little notebooks are to make. Pro tip: get a thimble to use with the embroidery needle. We lost ours, and while we were still able to make it work, you may want to save yourself the pain of pushing a needle through cardboard!
What are you going to use your mini notebooks for? I like to keep a notebook in my purse at all times to write down any inspirations from my day, and a notebook by my bed to write down any weird dreams I have (believe me, there are plenty). Whatever you decide to use your notebooks for, we’re sure you’re going to absolutely love them!
Supplies:
– Empty thin box (cereal box, mac n cheese box, etc.)
– 4 pieces of 8.5 x 11 paper
– Scissors
– Glue stick
– Embroidery floss
– Embroidery needle
– Scrapbook paper or washi tape
Directions:
1. Open box and cut a 5.5 x 9 inch piece from the face. Trim edges to a more rounded shape.
2. Spread glue on the colored side of the box, and press onto scrapbook paper. When dry, trim the excess paper from the edges.
3. Cut the 4 pieces of paper in half, to make 8 pieces of 5.5 x 8.5 inch paper. Trim corners to match the rounded edge of the cover.
4. Fold the small pieces of paper in half again, into 5.5 x 4 inch booklet. Fold the cardboard rectangle in half as well, and place the paper inside. Make sure the edges line up and the paper is in the right place.
5. Remove the booklet of papers, and use the embroidery needle to carefully punch a line of 8 holes along the fold, going all the way through.
6. Place booklet back into cardboard cover and use the holes as a guide to punch matching holes in the fold of the cardboard.
7. Beginning on the inside of the book, thread the embroidery floss through the holes in the paper & cardboard. Leave enough thread at both ends to tie a knot. Trim the ends.
8. Glue a strip of scrapbook paper to the binding, or cover with washi tape. Enjoy!
SKM: below-content placeholderWhizzco for CRH