Make Your Own Custom Crochet Hooks In 30 Minutes Or Less!
Your crochet hooks need this upgrade ASAP!

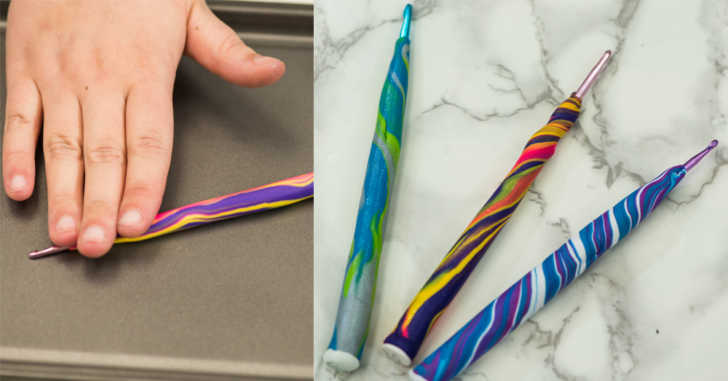
How great are these crochet hooks? I just love the marbled look and the bright colors. Believe it or not, you can upgrade your current crochet hooks in under 30 minutes! All you need is some Sculpy clay and a few of your favorite metal crochet hooks. The process is quite simple: take 2-4 of your favorite colors of clay and roll them out into logs. Then place the logs side by side, twist, and roll into a new log. Roll this log into a ball, and back into a log when you’re satisfied with the colors and swirls. Be careful not to over mix colors, otherwise, you’ll end up with an unattractive brown color. After you have your marble log, gently work the metal hook into the clay until you’ve reached the desired coverage (remembering to leave room for the yarn to loop onto your hook while crocheting).
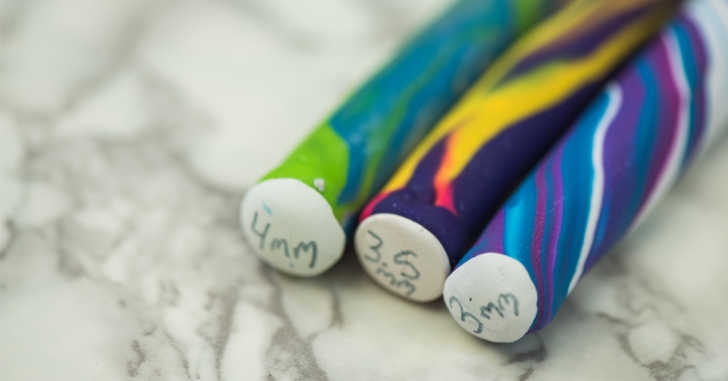
One of my favorite things about this craft is that since these are your personal hooks, you can squeeze the ends of the clay where your fingers would normally rest and create a custom grip! These will be the most comfortable hooks you’ve ever crocheted with. After you’re satisfied with the design, make sure to place a little white circle of clay on the bottoms of the hooks to label for later. Pop ’em in the oven, hooks and all, and bake. I just love this craft! Check out what we did in the video below, and get the full instructions beneath the video.
Supplies:
– Polymer clay in multiple colors (we used Sculpy)
– Crochet hooks
– X-acto knife
– Cookie sheet with parchment paper
Directions:
1. Pick 2-4 colors of clay, knead until soft, and roll into little logs, about 2 inches long.
2. Twist the logs together and roll on a smooth surface. Fold over and twist again, roll on a smooth surface. Repeat until you’re happy with the marbling design, just don’t over mix colors or it’ll turn brown!
3. Roll out clay into a 4 inch log, and cut off any excess. Take the end of your crochet hook and gently push back and forth to push the hook into the clay. Go slowly! Keep going until you almost reach the end of the log.
4. Roll the clay with the the hook in it on a smooth surface to taper the end closest to the hook.
5. On the other end, tap the bottom of the log, furthest from the hook, on a smooth surface until it’s flat. Add a small circle of white clay, where you’ll mark the hook size.
6. Place hooks on cookie sheet with parchment paper and bake for 15 minutes at 275.
Let the hooks cool before using on your next project!
SKM: below-content placeholderWhizzco for CRH