
We’ve all got a pile of shoes in the closet that we don’t wear anymore. Maybe they are a little dingy, or slightly out of style. You can’t throw them away – they are still perfectly good shoes, after all – and you can’t quite bring yourself to give them to GoodWill yet. Never fear! We have an awesome DIY for you to try today.
In the Crafty House studio, we tried out three different ways to makeover old sneakers. I gotta say, I think these turned out great! I’ve been wearing the embroidered sneakers all week and I know I’ll be wearing the black cat sneakers come Halloween. For those of you who think the embroidery stitches are too complicated, let me reassure you they are actually really simple! There are detailed instructions for each sneaker, and each stitch below the video. I have never done any embroidery before this craft, so if I can do it, so can you!
Go ahead and see what we did to makeover our old sneakers and get inspired to try a few of these ideas out on your own shoes! We’d love to see photos of your upcycled shoes in the comments below. Happy crafting, friends!
Supplies:
Embroidered Sneakers
– Old sneakers, preferably white or another solid color
– Embroidery floss
– Scissors
– Embroidery needle
Black Cat Sneakers
– Old canvas sneakers, white
– Black fabric paint (or sharpie)
– Pencil
Black Lace Sneakers
– Old canvas sneakers, white (or other solid light color)
– Black lace
– Fabric glue
– Scissors
Directions:
Embroidered Sneakers
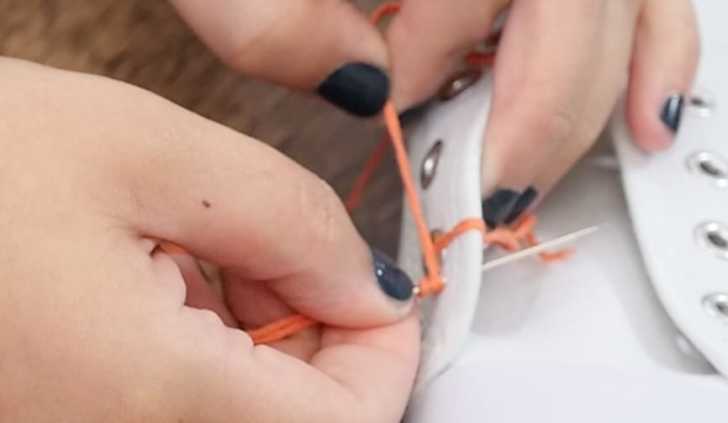
1. Unlace sneakers and string a color of floss onto the needle. Tie the end of the thread to one of the shoe lace grommets.
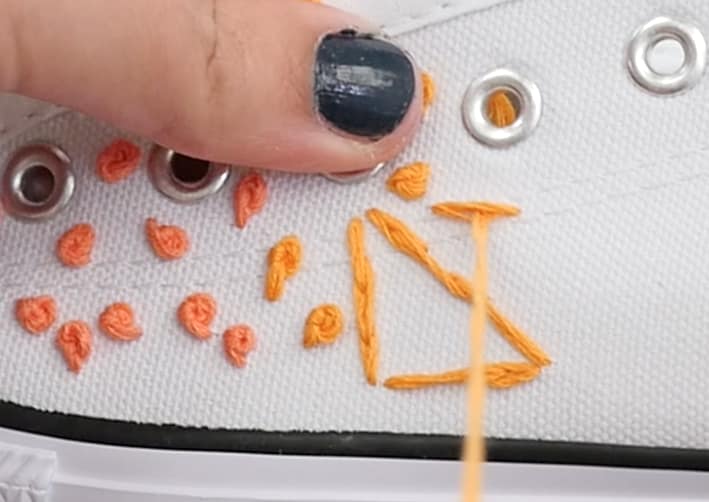
2. Cover the sneaker in different patterns and stitches using different colors of thread.
A. French knot stitch: Poke the needle through the sneaker starting from the inside. Wrap the thread around the needle four times. Stick the needle back through the sneaker right next to where it emerged. Hold the thread in your left hand while you pull the thread with your right hand on the inside of the sneaker to create a nice tight knot.
B. Satin Stitch: Satin stitch is used to fill in an area or a shape. Simply make basic stitches right next to each other until you create a solid color-blocked area.
C. Split Stitch: To create a semi-seamless longer stitch, try using a split stitch. Back stitch into your first stitch so the thread comes up through the fibers of the thread.
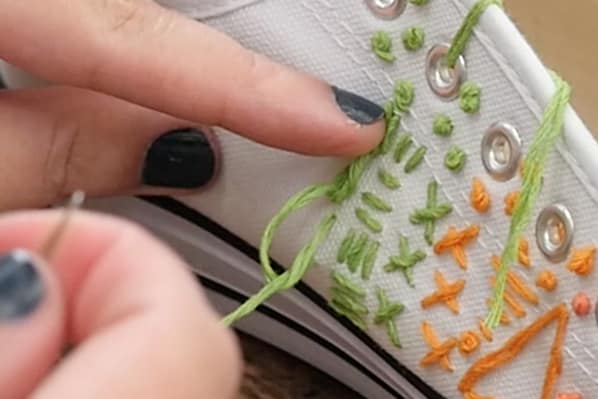
D. Chain Stitch: Start with the needle coming up from the inside, poke it back into the fabric right next to wear it broke through. Don’t pull the thread all the way. Instead, leave a loop. Bring the needle back up about a stitch-length away and pull the needle through. Insert the needle through the loop behind the stitch and pull tightly. Continue this process and you will start to see a chain forming.
3. Clean up loose threads and show off your new kicks!
Black Cat Sneakers
1. Trace out a cat shape on paper. Cut out the shape, the eye holes, the nose, and mouth.
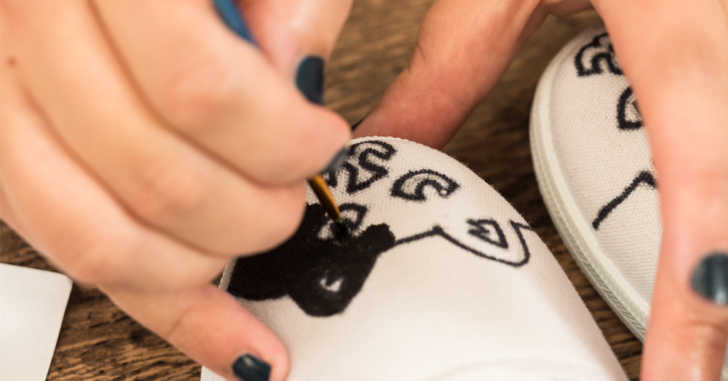
2. Use the paper template to trace out the design on the front of each shoe.
3. Fill in the silhouette with black fabric paint or a permanent marker.
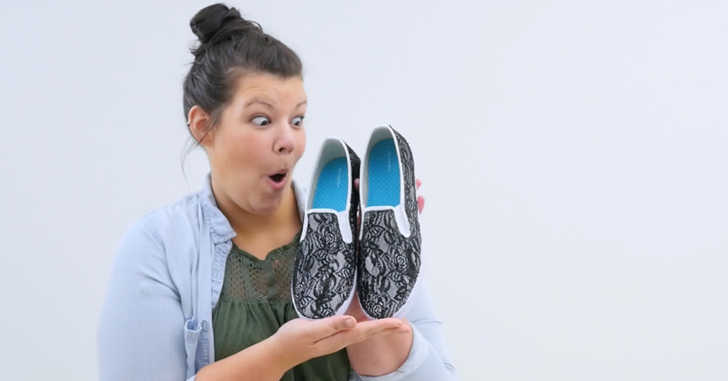
Lace Sneakers
1. Paint on fabric glue on the large areas of the shoe.
2. Place the lace on top of the large areas and trim down to size.
3. Secure the edges with more fabric glue around the borders of the shoe.
4. Clean up the edges with black paint for a cleaner look.
SKM: below-content placeholderWhizzco for CRH