DIY: Lighted Holiday Snowman
I couldn’t find exactly what I was looking for in stores… So I made my own!!

I spray painted the bottom wooden base with a flat black, not concerned with getting it completely covered to add a bit of a weathered effect. Then I drilled a hole in the base slightly smaller than the dowel. After that I pounded the dowel into the base with a rubber mallet.
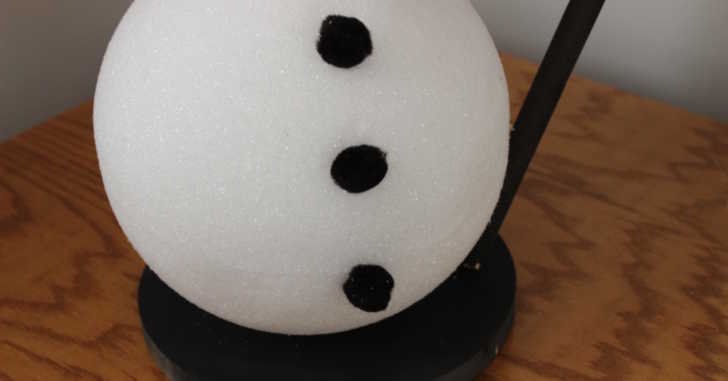
Once I had the base ready to go I used a long drill bit, again slightly smaller than the dowel, and poked holes in the Styrofoam balls. Then I very carefully pushed the dowel through the balls. With the snowman completed, it was on to the fun part: decorating!
I glued on the coal buttons, eyes and mouth. With an unfinished wooden piece, I made the nose and painted it orange. Using burlap ribbon, I sewed together his scarf then glued it around him. His arms are made from lighted twigs. I secured his broom to the base platform with a headless screw.
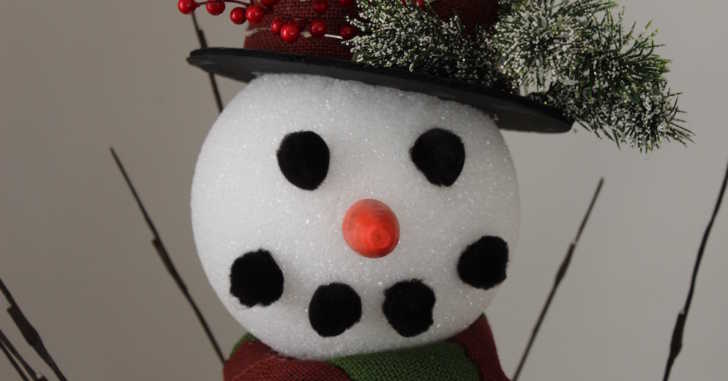
After that, all he needed was a hat!
See how to make the hat on the next page!
SKM: below-content placeholderWhizzco for CRH