How To Turn A Cereal Box Into A Desk Organizer
This is the perfect craft for organizing your office space! Plus it uses recycled materials. Win win!

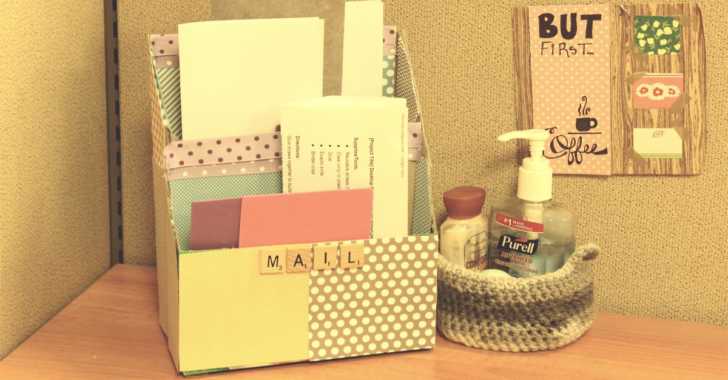
We love being able to reuse and recycle here at Crafty House. This DIY desk organizer uses two empty cereal boxes, as well as some left over crafting supplies we had just lying around from previous crafts. You can use whatever you have in your craft closet to decorate and customize your organizer! Beads or fabric would be fun, or your could cover the boxes with washi tape! Do you recognize the ribbon from our fun and easy bookmark tutorial?
For more ways to organize your small spaces, check out these 10 organizational hacks!
Supplies:
– 3 cereal boxes
– Ruler
– Marker
– Tape
– X-acto knife
– Scrap book Paper or paint
– Paper / labels / ribbon / lace / other embellishments
Directions:
Line up cereal boxes, make a mark on the far right one, about 2 inches below the top edge. Make a second mark on the far left box, about 8 inches below the top edge. Place your ruler between the two marks, and draw a line.
Repeat for the opposite side of the boxes, making sure your lines match up.
Draw a straight line across the front and back of the boxes.
With the x-acto knife, cut along these lines.
Tape the top edges, and bottoms of the cereal boxes together.
Paint the boxes, or line and cover with scrapbook paper.
Use ribbon, lace, labels and other embellishments to personalize your organizer!
SKM: below-content placeholderWhizzco for CRH