Never Weave In Ends Again With This Brilliant Crochet Technique!
This will save you so much time on your next crochet project!

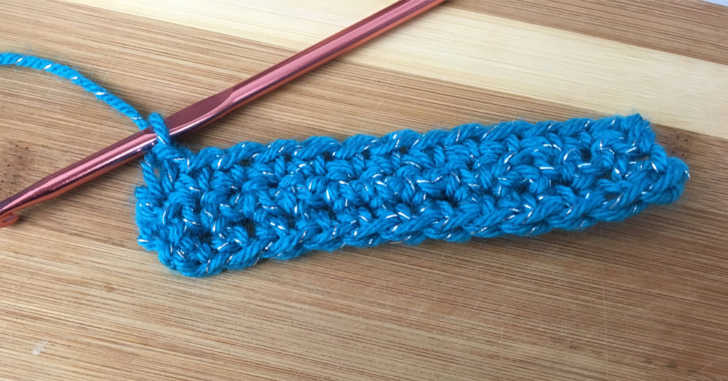
Locked Loop Ends: Rows
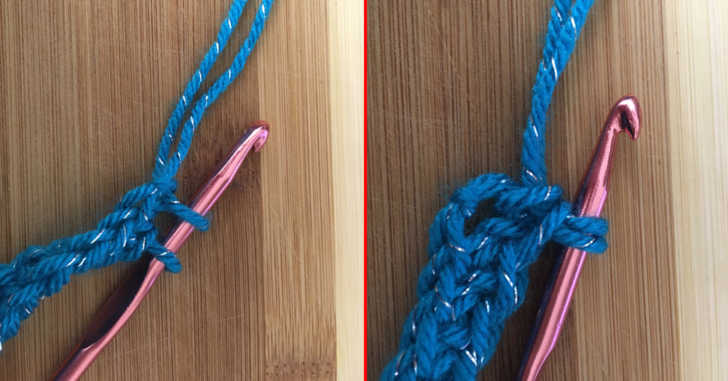
Crochet your starting chain like normal, leaving a tail of about 6-8 inches. Continue working your pattern until you have one stitch left in your first row. Insert your hook and draw up a loop like normal. Complete your stitch, pulling up the tail with your last pull through. In this example, I’m working a single crochet, so there are two loops on the hook – the working loop and the loop with the last chain. Once I’m at the last pull through of my stitch, I’ll take the tail with the working yarn, hold them together and yarn over both strands. Finally, complete your stitch.
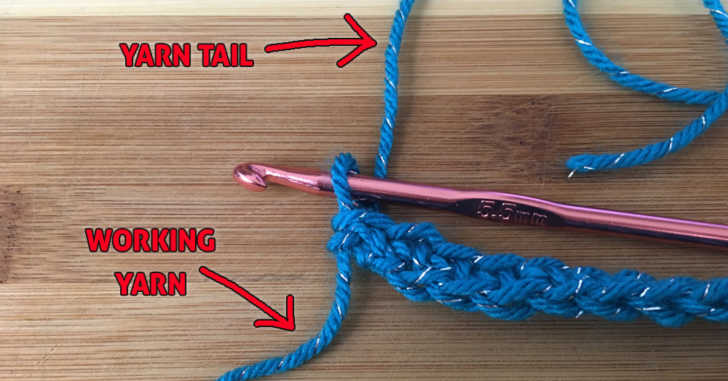
By pulling up the yarn tail, you’re bringing it up to the level of the stitches you’ll be working into. It also adds another level of security with an additional point of friction. There will be two loops on the hook – the working yarn loop and the yarn tail. You’ll pull the yarn tail all the way up and through the stitch. Turn your work and continue onto row two of the pattern for a few stitches, working over the yarn tail.
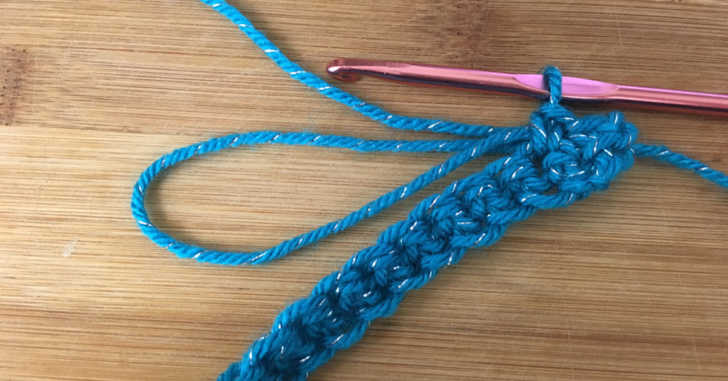
Then, fold the yarn in half and work a stitch over both ends of the tail to secure them in place. Continue working your pattern, making sure to crochet in the stitch of the previous row, as well as over the two yarn tails.
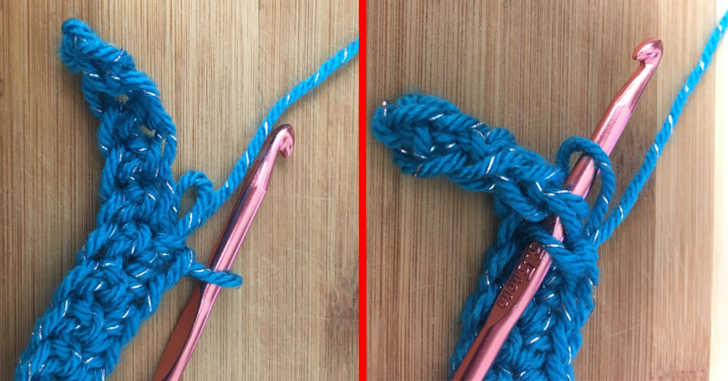
Once you have just a small loop left in your row, you’ll need to lock it in. You’ll do this by crocheting a stitch through the loop. Insert your hook into the stitch like normal, and then insert your hook into the loop. Then, yarn over and draw up a loop through the stitch. Simply tug the remaining yarn tail gently to secure everything in place.
Cut off the extra tail, and rest secured knowing you don’t have to weave in any more ends!
SKM: below-content placeholderWhizzco for CRH