3 Cute & Clever DIY Clock Ideas!
These beautiful and customizable clocks are sure to be a conversation starter!
Are you looking for a fun way to spruce up your living room or dining room? Really, these ideas could work for any room in the house, and I’m in love with all three of these clock projects! These beautiful and customizable clocks are sure to be a conversation starter the next time you have friends or family over. Go ahead and take a look at these cute and clever clock DIYs!
Photo Clock
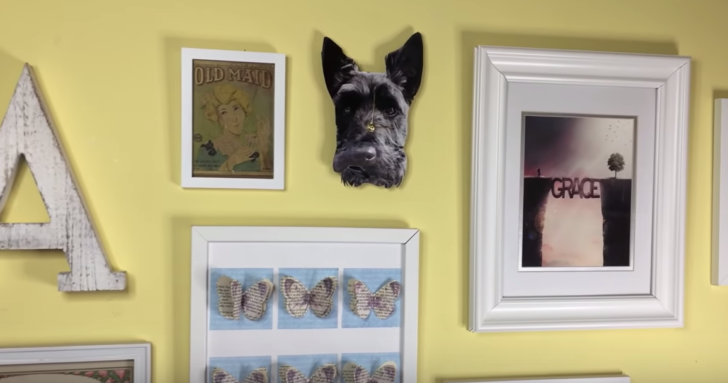
How cute is this? Who wouldn’t want a clock of their beloved pet? Of course, you can choose any picture you like, but I’m definitely partial to the pet clock. Once you select your photo, get it enlarged and cut out the part of the photo that will be used for the face of the clock.
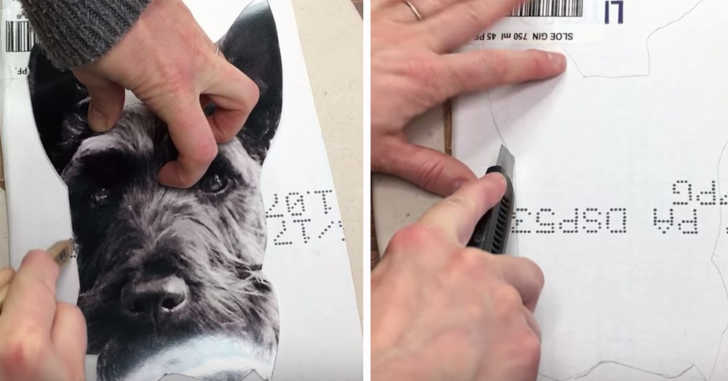
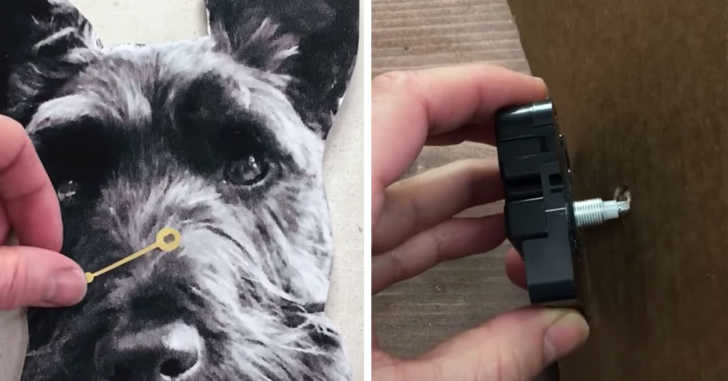
Trace the photo onto a sturdy piece of cardboard, and cut out the outline. Mark where you want the clock mechanism to be, and then poke a hole through the photo and the cardboard. Using tacky glue, or another strong adhesive, glue the photo onto the cardboard cutout, making sure to line up the holes. Once it’s dry, attach the clock mechanism and hang your new clock up!
White Board Clock
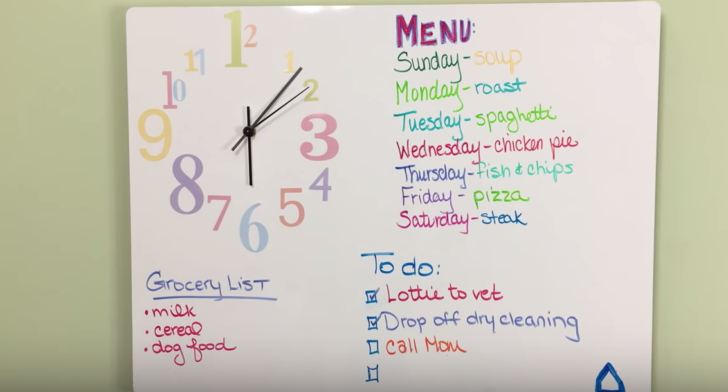
I’ll admit it; this is my favorite one on the list. Not only to I love making lists, but I love fun and creative ways to dress up everyday, practical objects! The funky numbers are cute and eclectic, but I might got with a more classic black set for mine. Begin by figuring out where you want the hands of the clock to be. Measure out that spot and then turn the board over and measure and mark that spot on the back.
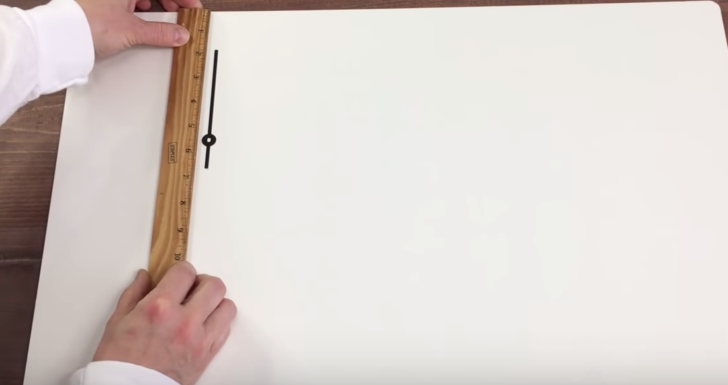
Using a drill, make a hole where you marked on the back of the board. Start with a smalle drill bit, and then go back over the hole with a larger drill bit. After that, it’s just a matter of attaching the clock mechanism and putting your numbers on! Since this won’t hang flush against the wall because of the clock attachment, you can get creative and cut and attach dowels on the top and bottom and then hang it on the wall.
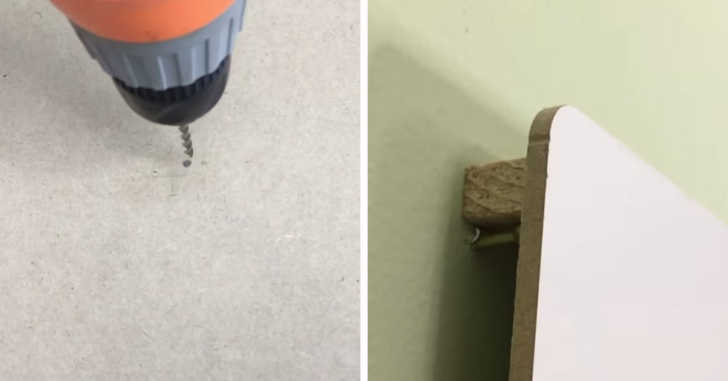
Photo Album Clock
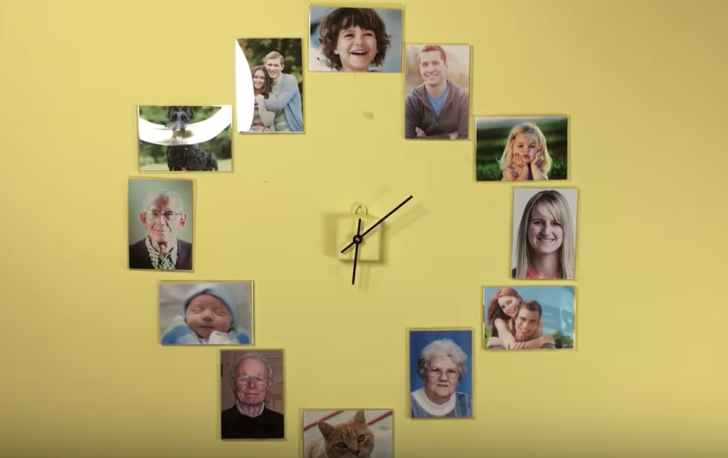
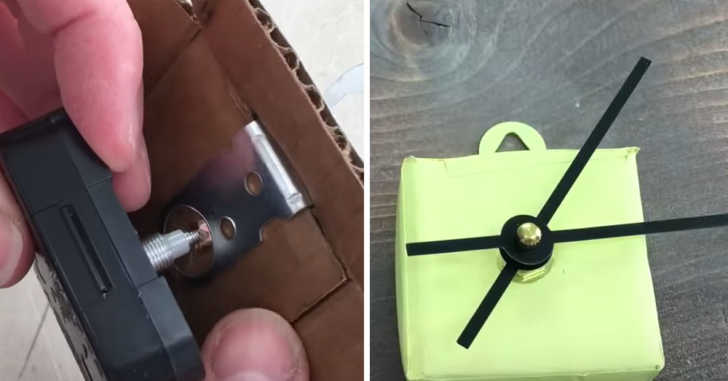
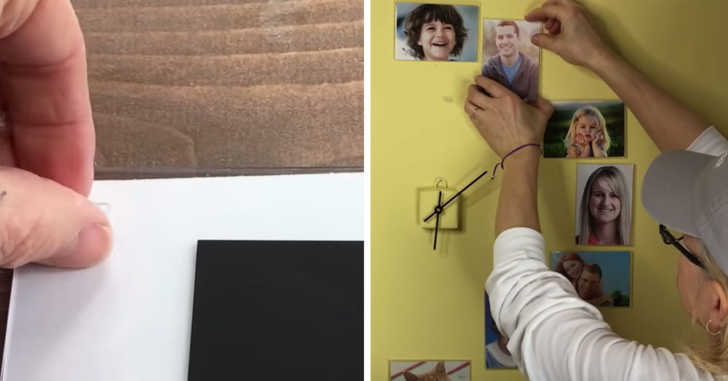
This is such a creative way to show off your favorite photos! Whether the photos are from a particular vacation, a collection of family photos, or even photos of one child from 1st-12th grade, I’m sure you’re going to love the end result. Start by measuring the dimensions of the clock mechanism, and then cutting out a little box to cover it up. You can secure the sides with duct tape and then paint over the box. In the example above, they chose to paint the box the same color as the wall, but you can obviously paint it a different color if you want more contrast.
After that, simply grab a few light, plastic frames and insert your photos. Measure and mark where you want to put your photos, and then stick them onto the wall using double-sided adhesive strips.
See the supply list and full instructions in the video below!
SKM: below-content placeholderWhizzco for CRH

