
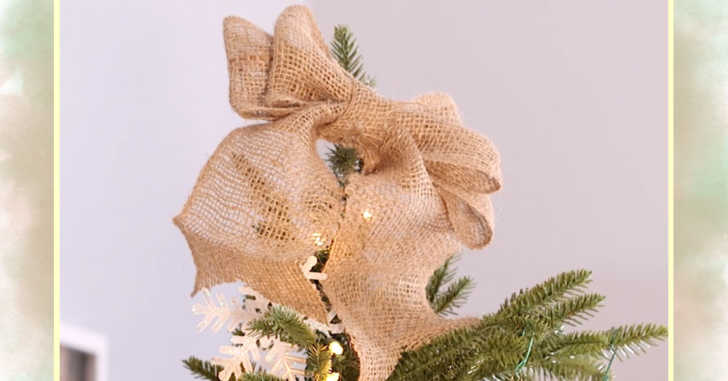
Have you ever tried to re-create those beautiful Christmas bow’s, but instead end up with something completely different and not so beautiful? Well, lucky for you we have the step by step instructions on how to get the perfect bow for your tree, your presents, or any other kind of decorating you need to do. Put your frustrations aside! Today’s tutorial shows us just how easy it is to achieve perfection.
The key is to work this bow in sections. Start by measuring out a few lengths of burlap or another kind of ribbon. Then, cut a small square from the ribbon, and a third piece of ribbon.
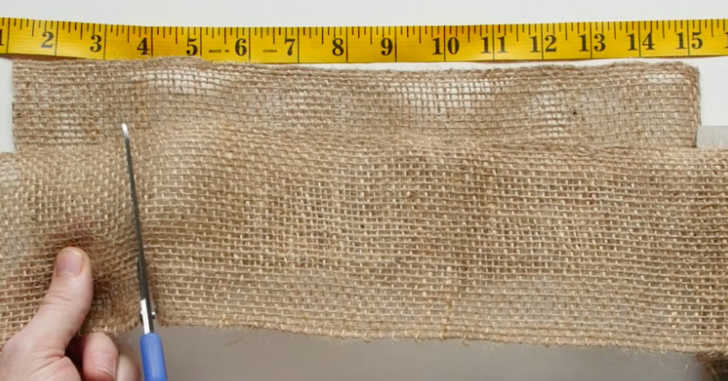
For this handy hack, you’ll need burlap or another kind of ribbon, hot glue gun, and scissors. Begin by taking your burlap and cutting out four strips the following lengths….18 inches, 18 inches, 15 inches, and 4 inches. Next, take your 18 inch strip and using your hot glue, glue the ends together to create a circle. Once completed, do the same thing with your second 15 inch piece. Now glue your two circles together, with the smaller one on top. Fold the bow in the middle to create the dimples of the bow. Glue the ribbon together at each fold. Take your remaining 18 inch strip and place it at the bottom of your bow ensuring both ends of the equal amount hanging, then using your smallest strip wrap it around the whole bow and tail and use your hot glue to keep it in place. The final step is to cut triangles out at the end of each of your bow tails. Fluff your bow so it’s not flat, and then find the perfect place to show it!
See how it’s done in the video below!
SKM: below-content placeholderWhizzco for CRH