Who Knew A Doorstop Could Be So Cute!
Get the full instructions for this handcrafted DIY here!

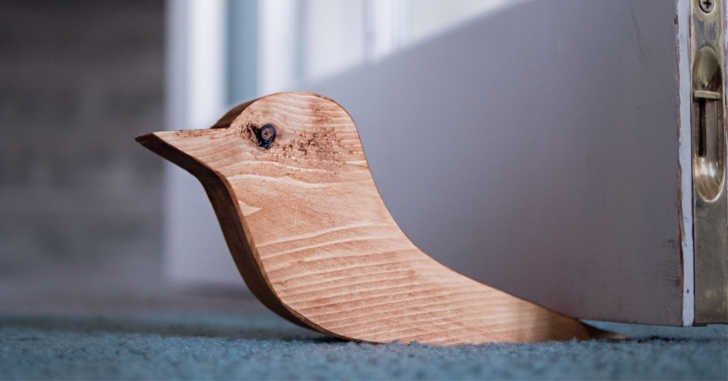
I love when art can bring out beauty even in the most mundane of objects. Isn’t that what the whole spirit of DIY is all about? Making the world around you a better, more beautiful place? Here in this video, we see how one artist makes an absolutely adorable doorstop. That’s right, a doorstop. It’s so cute though! I bet you’ll need to make one after watching this video!
Supplies:
– Block of wood: 2 x 8 x 8 minimum
– Band saw
– Sandpaper 200-800 grit
– Wood stain
– Acrylic piece
– Pencil
– Sharpie
– Rag
Directions:
1. Draw the outline of the bird onto the acrylic piece. After sketching with a pencil, thicken lines with sharpie.
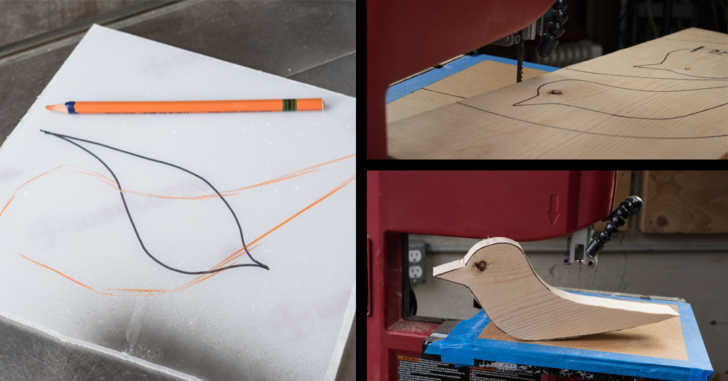
2. Using the bandsaw, cut the birdie from the acrylic piece. Remember to go slowly, rotating the acrylic as you cut. For sharp angles, make multiple small cuts.
3. Peel off the laminate off the acrylic if it’s there, and sand it down flat on the bottom. Other curved edges should be rid of sharp edges.
4. Using your piece of acrylic as a guide, find an area of the wood that you like, where the grain of the wood is interesting, or lines up with your bird. We found a knot in the wood and placed it as the eye of our birdie.
5. Once you’ve decided on a location, trace the outline of the acrylic piece onto the wood, and cut out with the bandsaw.
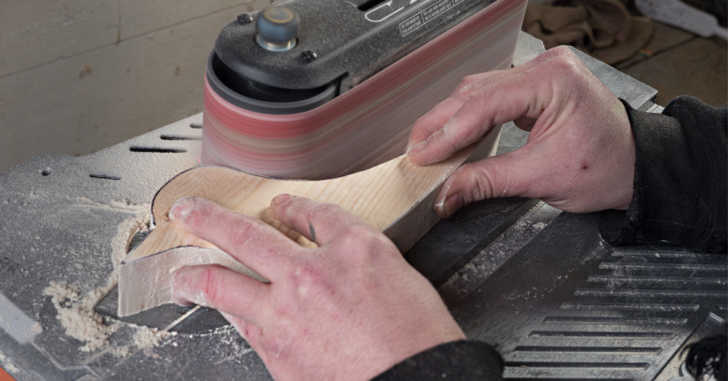
6. Sand down the wood so no sharp edges remain, and the wood is not splintering.
7. Pick any desired stain – we used a rich brown – and stain with a rag. Let dry overnight.
8. Go ahead and use anywhere you need! These make a great last minute gift.
SKM: below-content placeholderWhizzco for CRH