Transform An Old, Leftover Tire Into The Perfect Living Room Addition
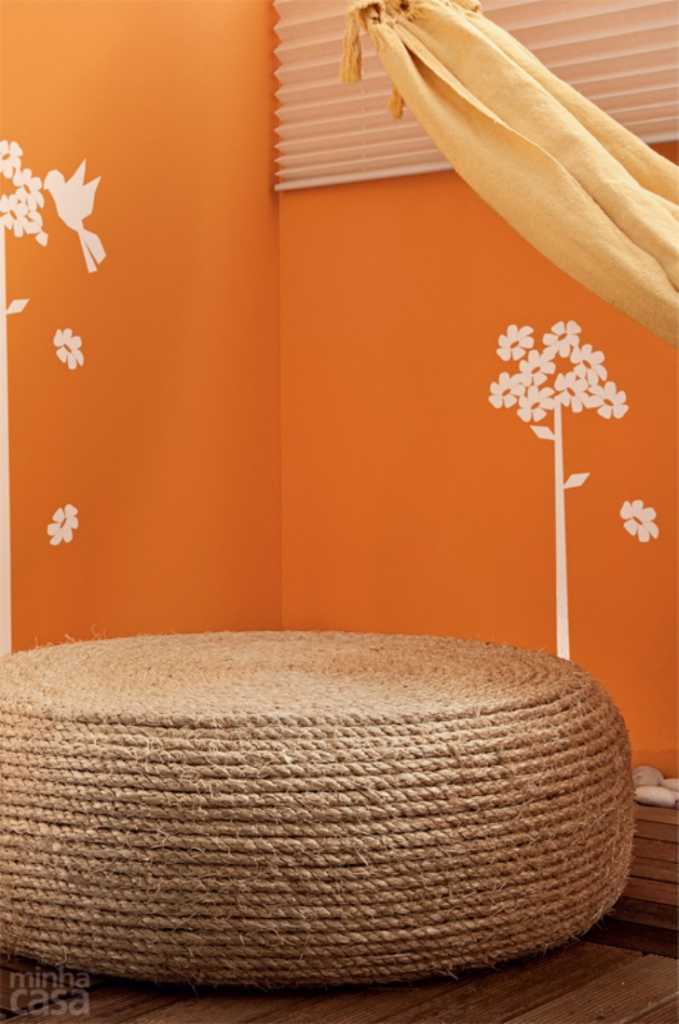
The finished result looks amazing!

I love using old, useless items lying around my house to make new, fun DIY projects.
Upcycling is extremely gratifying because I can clear up clutter and prevent waste. This is especially important if you’re like me and you have a messy garage. There is so much stuff in there just begging to be repurposed into something cool, like this window frame chalkboard.
And I always enjoy breaking out my tools and tackling a new DIY project. So naturally, when I saw how to repurpose an old, used car tire, I knew I had to try it.
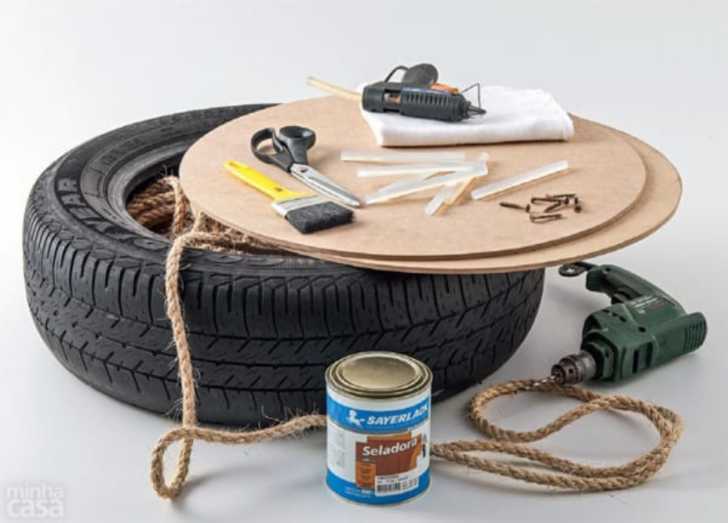
This simple and effective DIY project transforms a useless tire into a cool, rustic ottoman for my house. Besides a few tools, I just need a tire, wood, screws, rope, glue, and some sealant.
In no time at all, I’ll be able to create the perfect rustic addition to my living room — such a great upcycle!
All you’ll need for this amazing DIY ottoman are a tire, wood cut into circles, rope, screws, a screwdriver, a glue gun, a drill, a cloth, a brush, and a jar of sealant.
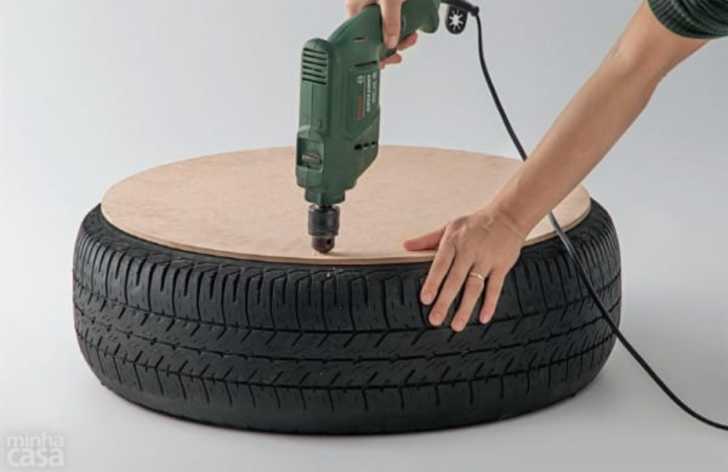
If you’re utilizing a used tire, make sure to clean it with a dry cloth. If it is particularly dirty, you can scrub it with water, but allow it to dry before moving on. Drill three holes into the wood, deep enough pierce the tire rim.
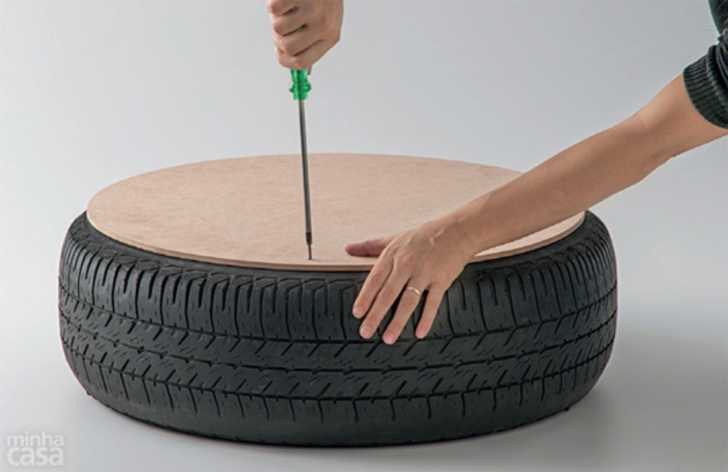
Use your screws to secure the wood to the tire. Repeat the same on the other side of the tire as well.
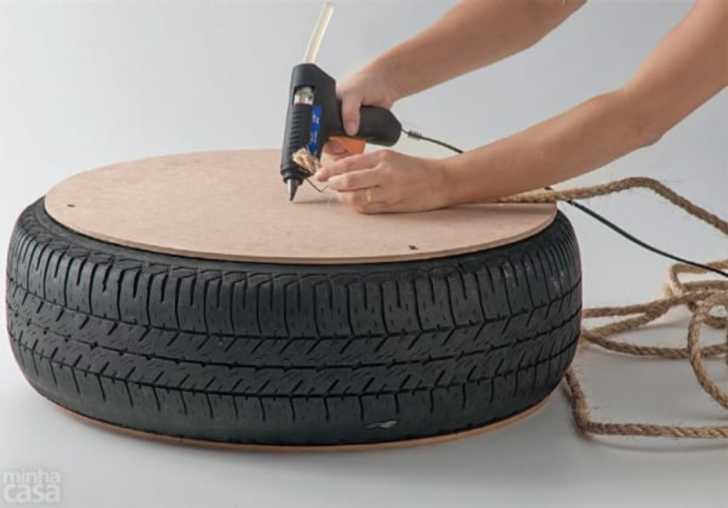
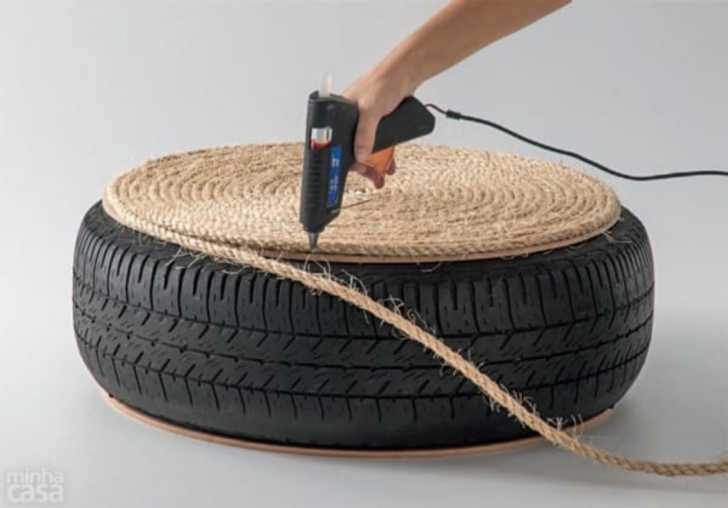
Begin the gluing process by securing one end of the rope to the very center of the wood with the glue gun.
Begin to coil the rope around the center, applying glue each round and pressing it down until the rope is secure.
When you’ve covered the wood entirely, do the same thing along the rim of the tire. You’ll want the flow from rope-on-wood to rope-on-tire to be seamless.
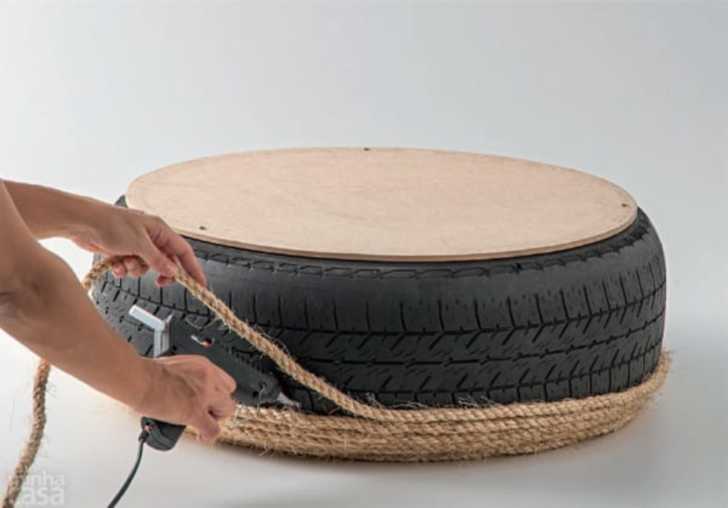
Flip the tire over and continue gluing the rope down until you reach the other wooden board.
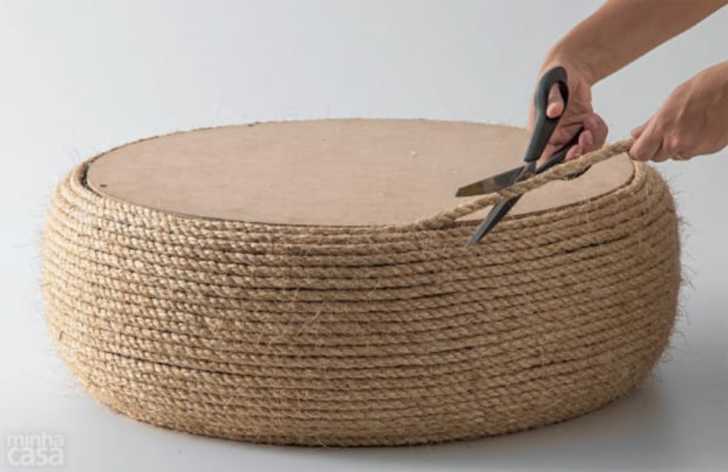
Once all of the rubber is fully covered in rope, use your scissors to cut it. Glue this end of the rope down securely. You don’t need to cover the other portion of wood because it will be face down!
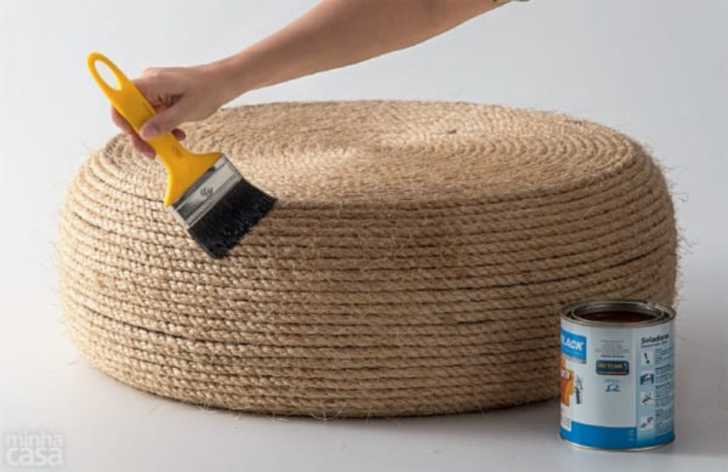
Use your brush to paint a layer of sealant over the rope. Allow it to dry, and then apply a second coat.
Once your sealant has fully dried, you’ve got your very own rustic, homemade ottoman. You’ll be all ready to kick your feet up!
SKM: below-content placeholderWhizzco for CRH