I Tried Making My Own Reusable Dryer Sheets To Remove Toxins From My Laundry Routine
Try this all-natural-alternative!

Confession time: I absolutely hate doing laundry. It’s not that the process is difficult; I just happen to be the worst when it comes to remembering to switch things from the washer to dryer.
Plus, strong smells are my downfall, and many laundry products are packed with them. I suffer from both cluster headaches and migraines. Strong scents are a huge trigger for me. Even the most “free and clear” products still have a distinct smell that sets me off. Arguably, the worst culprit of them all is dryer sheets.
I didn’t grow up in a household that used dryer sheets, so avoiding them was simple for a large part of my life. Things changed when I moved out.
It seemed that everyone I lived with swore by the magic of dryer sheets. My boyfriend was among the many culprits. Thankfully, he had a change of heart when he realized I couldn’t wear my own clean clothes without being rocked by a major headache.
Aside from my personal hang-ups with dryer sheets, they’re not great for the environment. As single-use products, they create a lot of waste that can be avoided by subbing in reusable products. By skipping out on dryer sheets, you can also reduce the number of chemicals used to get your clothes clean.
Dryer sheets are made of woven fibers covered with chemicals used to soften synthetic fabrics. They also contain fragrances. They coat your clothes (and your dryer) in a film that’s supposed to reduce static and wrinkles and make fabrics feel softer. That film has some downsides. By covering your dryer, it also covers your lint trap, leaving it sticky and less effective over time. The film is also known to reduce moisture-wicking in activewear, flame resistance in children’s pajamas, and the absorbency of towels. It all spells bad news, and it can all be avoided.
In looking for a happy medium between my personal dryer sheet hell and the static-reducing and softening needs of the rest of my family, I discovered that making my own dryer sheets is pretty easy. You’re just a few household products away from dryer sheets that are safer to use, put less wear on your dryer, and are better for the environment.
https://giphy.com/embed/vw1e3i9lJeueA
I’m not a huge fan of doing laundry since it’s so time-consuming and involves so many smells that are hard for me to handle. Luckily, these DIY dryer sheets are here to change the game.
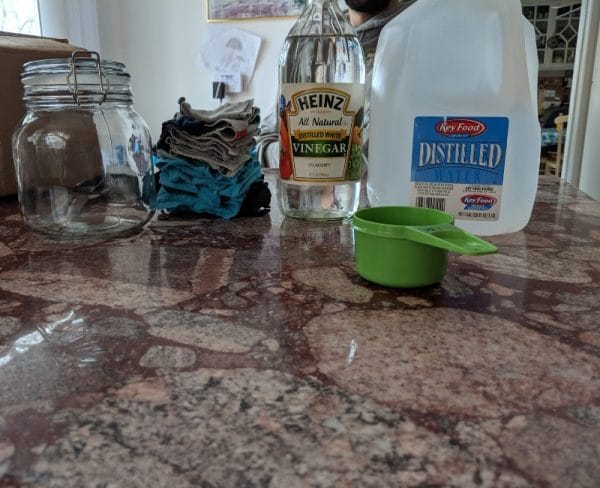
What You Need:
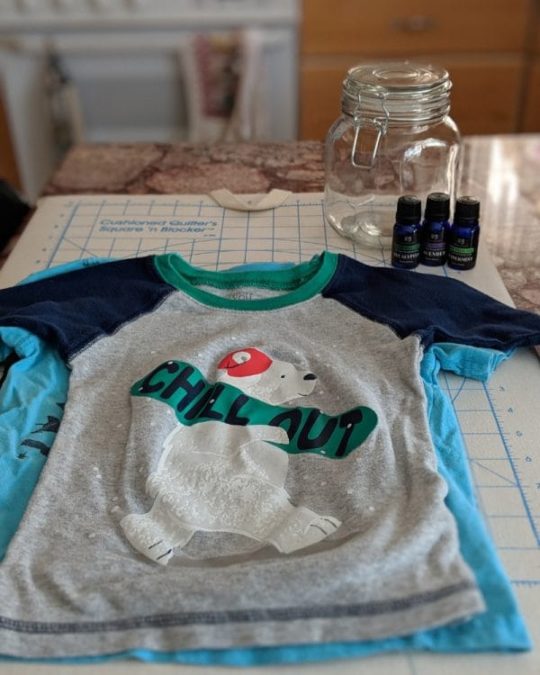
Making these dryer sheets is surprisingly quick and easy. You’ll need:
- Airtight glass jar (I used a 32 oz. size for this)
- 20 to 30 drops of the essential oil(s) of your choosing
- Cotton shirts to cut up into squares (or quilting squares if you have them handy)
- 1½ cups distilled white vinegar
- ½ cup distilled water
Step 1: Cut Cloth Squares
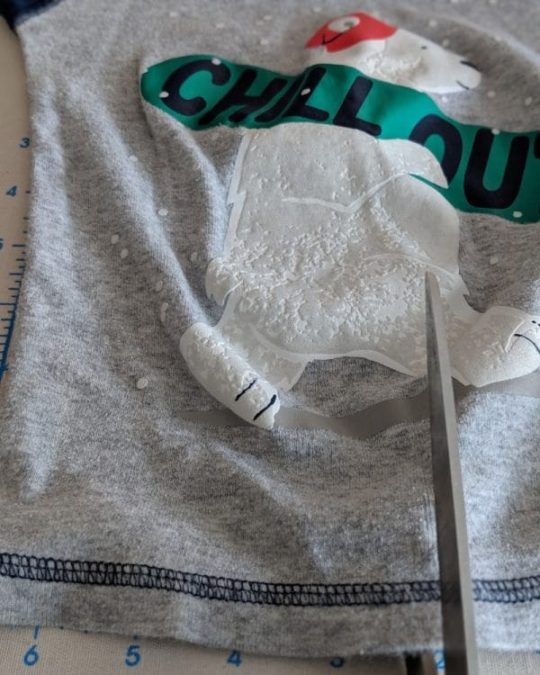
Begin by cutting the shirts into squares. I used 100% cotton shirts, but you can use cotton blends as well.
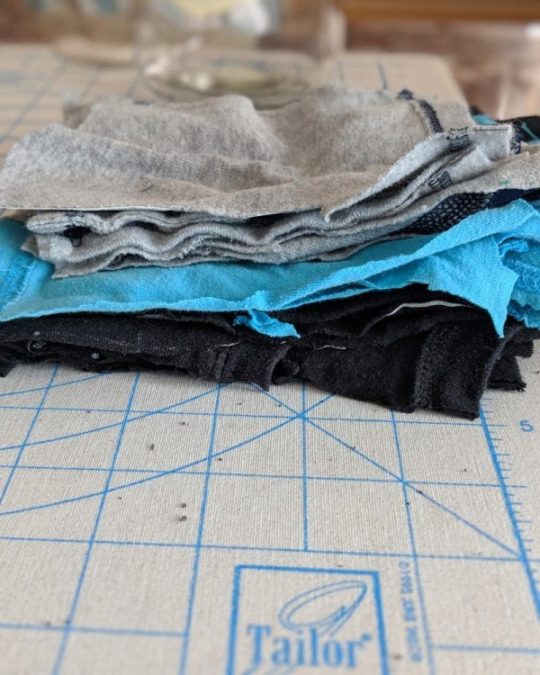
After cutting up three children’s shirts, I had about 30 squares that ranged between 4 by 4 inches and 6 by 6 inches. They don’t have to be a particular size to work, but you want a size that can be folded and fit into your jar.
Fold or roll the shirts to fit as many of them as possible. Since these squares folded pretty tightly, I managed to fit them all in my jar. But don’t put them in the jar just yet.
Step 2: Make the Solution
Make the solution directly in the jar. It consists of distilled white vinegar, distilled water, and 20 to 30 drops of your chosen essential oils.

Begin by adding 1½ cups of distilled white vinegar to the jar. It might seem like a small amount, but it goes a long way.
Add ½ cup of distilled water. It’s important to use distilled water — not tap water — so that the additional salts and minerals don’t change the composition of the solution.
I was nervous to add the essential oils because of my concerns with a strong smell. I used 10 drops of lavender and 15 drops of eucalyptus for this batch. When you’re done, swirl the jar to combine everything.
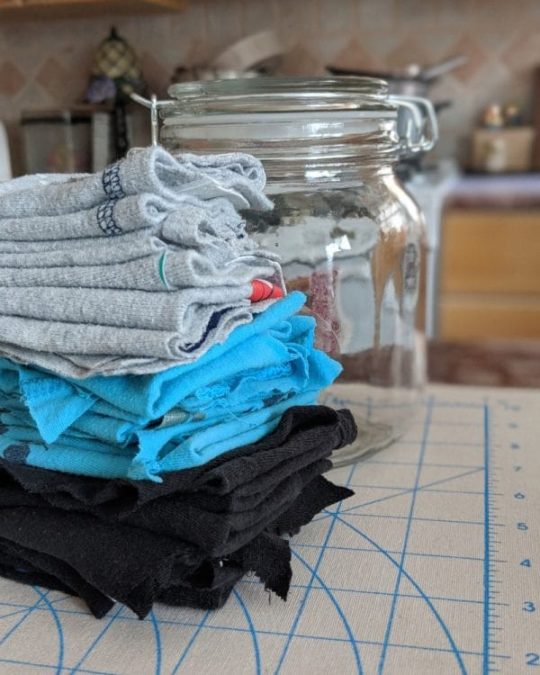
Step 3: Put Cloth Rolls in the Jar
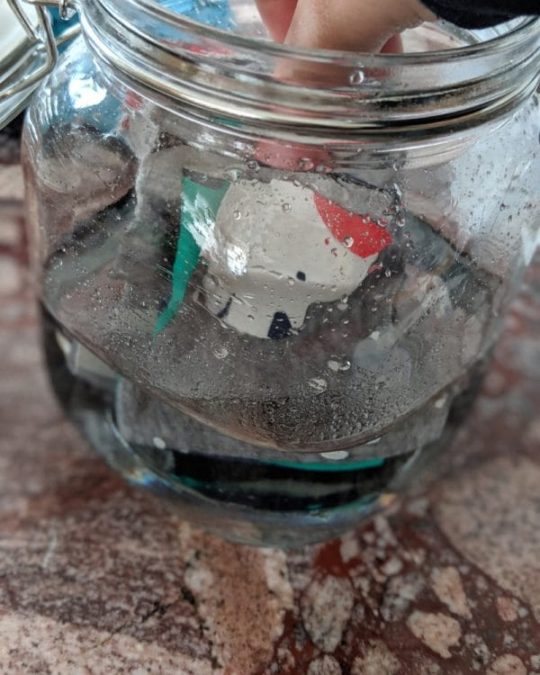
Once the solution is mixed well, start fitting the rolled cotton squares in the jar. By standing them up, you can fit more and grab them more easily when it’s time to use them.
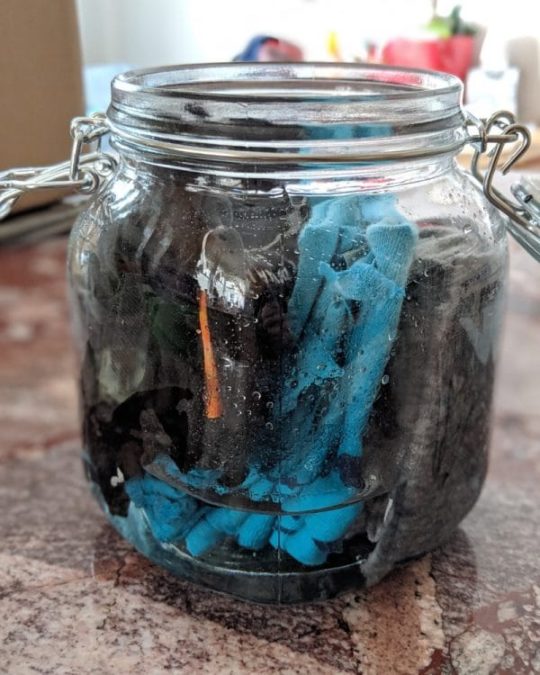
The cotton will start absorbing the solution immediately. It might look like a small amount for the amount of fabric you’ve put in, but don’t worry. That’s all you’re going to need.
Step 4: Rotate Jar to Distribute Solution
Make sure to turn over the jar a few times. This helps ensure the solution is distributed equally among the squares. When you’re done, store at room temperature.
Testing My DIY Dryer Sheets
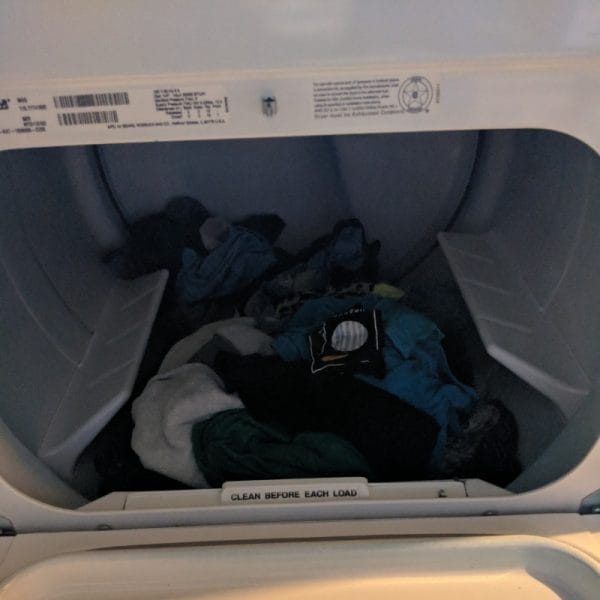
The next day was time for laundry. I was surprised to find that while the sheets were well saturated, they didn’t need to be wrung out. I threw three sheets in with a medium load.
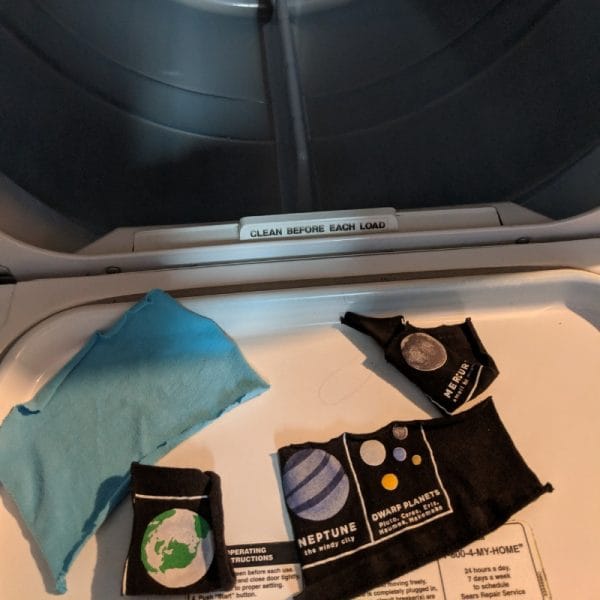
I took the load out of the dryer and found that the smell was in no way overwhelming. I could definitely detect a hint of it on the clothes, but it wasn’t too much for me to handle. I also found that my clothes were significantly less staticky than they were when I didn’t use dryer sheets. It seems like I may have finally found a happy medium for my family’s laundry needs.
After using the dryer sheets, set the cloth squares to the side. When you’ve used up all the dryer sheets in your jar, you can simply fold them up and make another batch of solution. It’s a small but meaningful way to take your house in a greener direction and eliminate some toxins in your family’s routine.
SKM: below-content placeholderWhizzco for CRH