
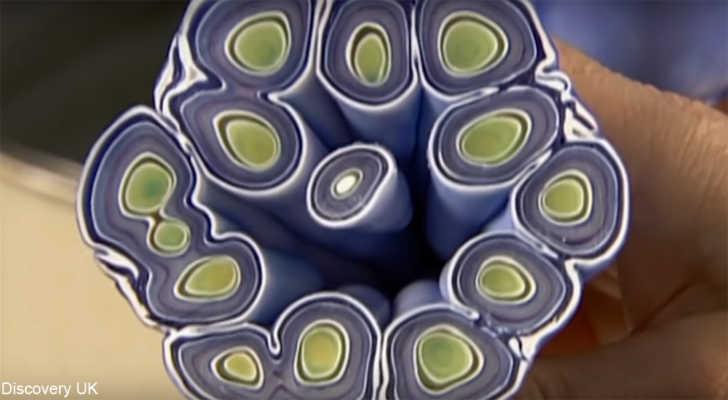
Carved candles first became trendy in the 1970s when everything crafty was in style. As these candles burned their lovely carved pattern was in full display once backlit by the candle flame. This style of candle has never been cheap because it takes a lot of work to make one. Many hours of skilled labor are involved, and seeing the step-by-step process is fascinating!
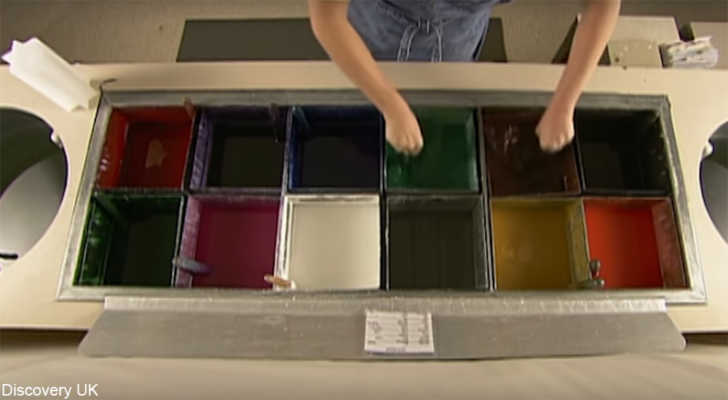
First a star-shaped molded candle is dipped in multiple colors. Candles like this can have as few as one color or as many as 12 or more. It all depends on what the design calls for. The candle is dipped one color at a time and the outer layer cooled in a dunk of cool water before the next way layer is applied. This process is repeated 30-35 times!
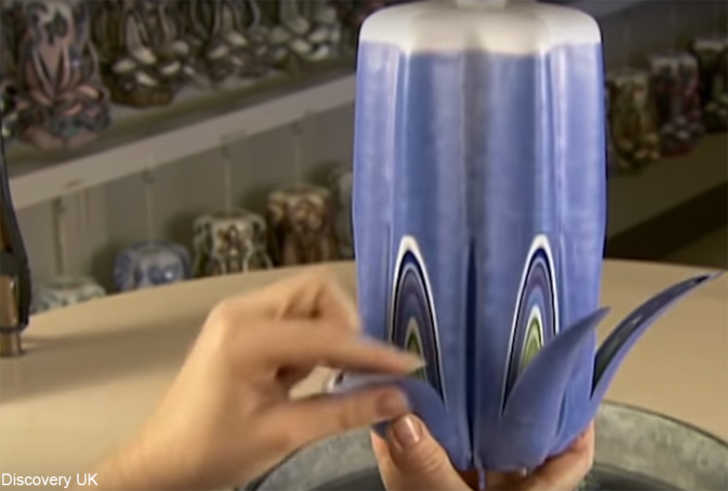
While the outer layers are cooled with the water, the inside stays warm because of the high temperature of the molten wax. Once the layers have been built up, the candle can be carved. This must be done within the span of 15 minutes, otherwise the candle will harden too much to be pliable. The long wick is used to suspend the candle so that it can be carved at any angle or in any direction the artist needs to.
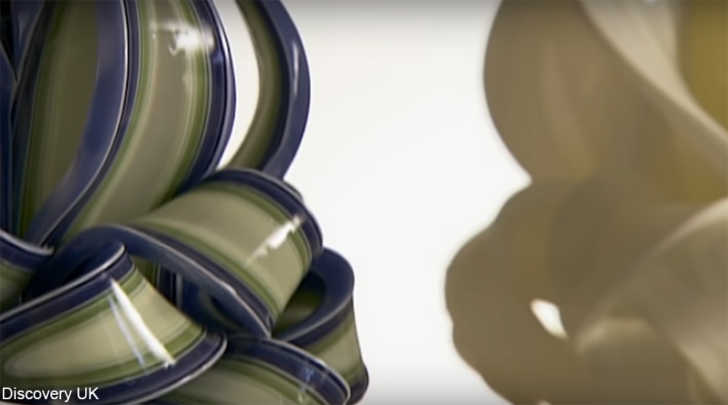
As the candle is cut into, the slivers that are made through carving are dipped in cool water again to keep them from moving during the rest of the carve. Tools to carve include a regular knife and what looks almost like a squared-edge ribbon tool for pottery. Once the design is done a section at the top is cut away to make sure that wax never drips on the carved section (thereby ruining the design once lit).
Also, the drippings which harden at the bottom of the candle can be cut off and made into a smaller candle. It’s so interesting how these are made! Have a look at the intricate process in the video below.
SKM: below-content placeholderWhizzco for CRH