
Creative nail art designs are a fun way to get expressive with a fairly ordinary product: nail polish. We’ve got some fun designs to please a younger crowd but are still super cute and applicable to the “young at heart”. These designs are easy to execute and fun to look at. With a little creativity some really cool nail art can be made.
Nail art is just another way for self-expression and creativity. You need just a few supplies to make this happen, the most important being a toothpick – this allows for some of the more detail work that occurs in a few of these designs. Use your imagination and try all kinds of different shapes, patterns and designs. Be sure to use a top coat to protect your masterpiece!
Supplies
— Different colors of nail polish
— Toothpicks
— Top coat
Directions
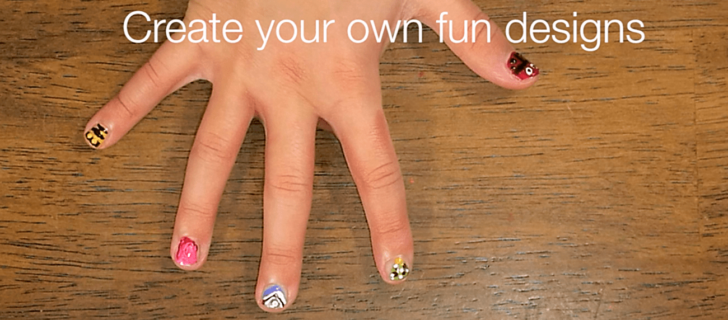
— Lady Bug: Draw a “T” shape, use a toothpick to fill in lower half with dots. Use a toothpick to make eyes using white and black polish.
— Christmas Tree: Use sparkly green polish for added flare. Paint a narrow triangle as the base. Use toothpicks to create the star and ornaments.
— Shimmering Diamond: Paint wide triangles with different colors as a base. Add a sparkly topper with a small “diamond” at the top.
— Swirly: Using two separate colors and a little thicker consistency, paint half of the nail with each color, then use a toothpick to create a swirl effect.
— Bumble Bee: Yellow base coat, then use a toothpick to draw black stripes and create eyes.
— Candle: paint a candle and use a toothpick to create the flame.
— Cat: Put down a base color, then create the cat face by dropping two dots then connecting them, creating a heart shape. Use a toothpick to create eyes, nose, and whiskers.
— Ice Cream Cone: paint a yellow triangle, then use dots of color to create “ice cream”.
— Paw Print: put down a base color, then use the brush or toothpick to create one large dot with three smaller dots above.
SKM: below-content placeholderWhizzco for CRH