Easy, Adorable Bandana Pumpkins!
Forget the mess of carving, make these cute pumpkins instead!

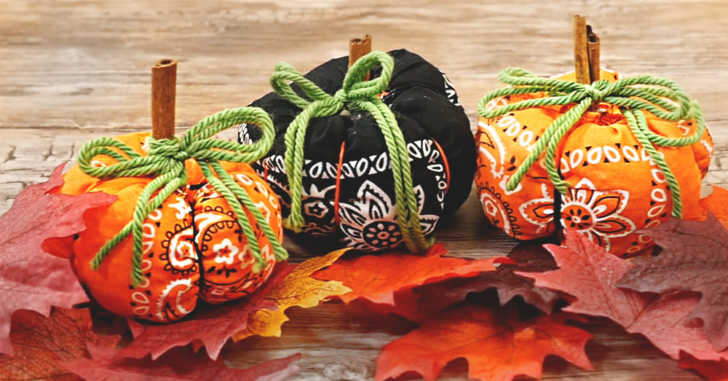
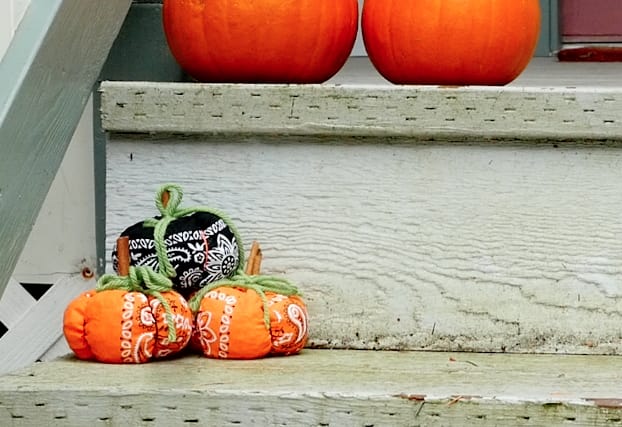
Forget the mess of carving, make these cute pumpkins instead! Don’t be intimidated by the sewing – as someone who can barely stitch a straight line, I found this project simple and easy to complete. Watch the tutorial video below, and get the full written directions at the bottom of this post! Make sure to check out the other photos too, to get some ideas on how to decorate with these guys.
For more fall decor tutorials, check out these DIY cinnamon vanilla candles – inside of a pumpkin!
Supplies:
– Bandanas (in orange & black)
– Needle & thread
– Embroidery floss in contrasting colors & doll needle
– Sticks / twigs / cinnamon stick (for the stems)
– Cotton / scrap fabric / yarn / anything for filling
– Hot glue
Directions:
1. Cut a rectangle from the bandana that is twice as long as it is wide (14” x 7”, 13” x 6.5”, etc.)
2. Fold the rectangle over, short ends together, right side of the fabric facing in. Sew the short ends together, forming a tube.
3. Sew a wide running stitch along one end of the open “tube.” Pull the thread to gather the fabric and close one end of the tube
Turn the pouch inside out (or, right side out), and stuff with filling of your choice (yarn, fabric, cotton, etc.). Once filled, sew a wide running stitch along the open end.
4. Gather the fabric by pulling the thread, and run needle through the fabric several times before knotting off.
5. Thread a doll needle with contrasting embroidery thread, and triple knot at the end. Pull the needle & thread through the top center, down through the bottom center. Pull tight to squish down pumpkin. Continue this top down threading style, alternating sides to create the pumpkin ridges.
6. To make the stems, cut a stick or a cinnamon stick down to size, and hot glue to the center of the pumpkin.
SKM: below-content placeholderWhizzco for CRH