Give Your Pens And Pencils A Floral Upgrade!
Just in time for back to school, this DIY tutorial shows us how to turn an ordinary writing utensil into a beautiful blooming flower!

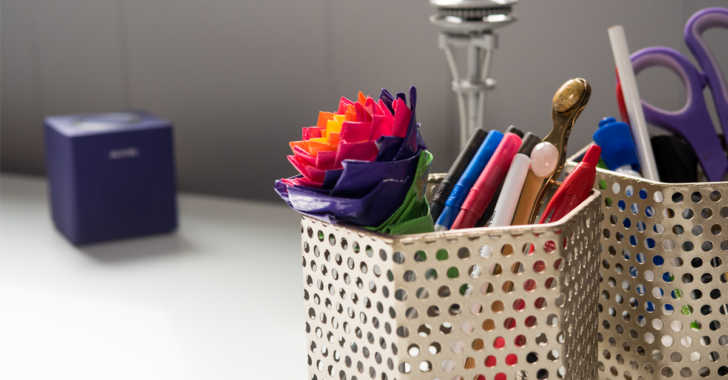
Just in time for back to school, this DIY tutorial shows us how to turn an ordinary writing utensil into a beautiful blooming flower! Once you get a hold of the folding, this craft comes together quite quickly. We found that if you start each row slightly lower down on the pen than the previous row, everything really opens up and creates that “bloom” effect. See what we did and experiment with different colors and petal positions for yourself! We’d love to see a picture of the finished product in the comments below!
Want more duct tape crafts? Check out this triangle desk organizer!
Supplies:
– Duct tape
– Pens / pencils
Directions:
1. Cover pen in tape. This will be the stem.
2. Cut out 2 inch squares of duct tape for the petals. About 20 per rose.
3. To make the petals, turn the tape sticky side up, and fold the right corner over itself, leaving some stickiness exposed on the side and the bottom. Take the left corner and fold it over as well, leaving only stickiness on the bottom strip of the petal.
4. Wrap the petal around the bottom of the pen.
5. Keep adding petals to the pen until you’ve reached the desired size. You can add “leaves” by making the petal shape with the color of duct tape used for the stem, and adding them onto the rose as the last layer.
SKM: below-content placeholderWhizzco for CRH