Have You Ever Crocheted Anything Like THIS Before?
The end result is simply breathtaking!

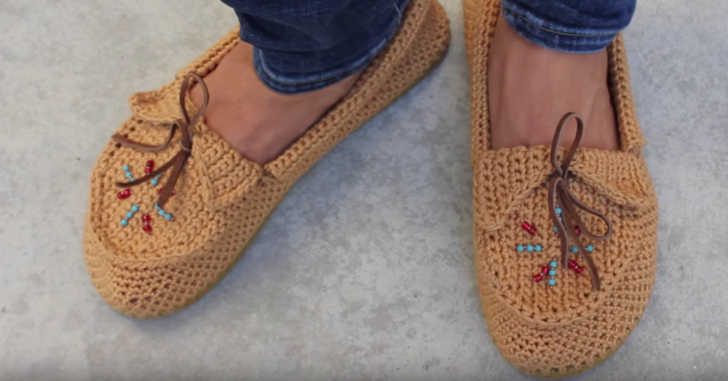
These crochet moccasins are too cute! I absolutely love this unique crochet project and I can’t wait to get started. I don’t know about you, but every year I go to Target and buy a pair of moccasins in the fall. There’s just something about the moccasin shoes that get me in the mood for all things fall – cooler weather, snuggling up by the fire, and of course, crocheting the evening away!
So you can imagine how much I love the idea of being able to crochet my own moccasins! Keep reading to see the full tutorial below!
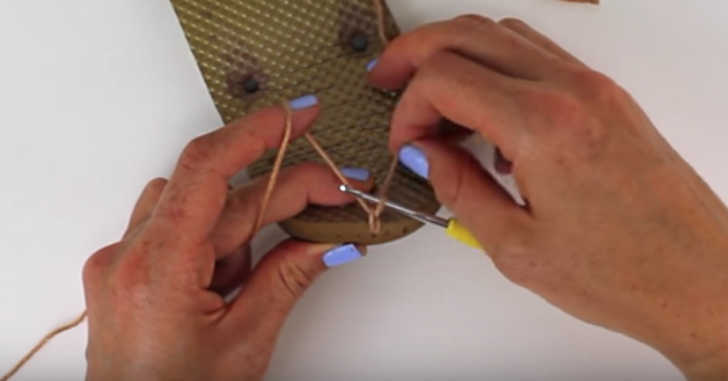
You’ll start with a base of a cheap pair of flip-flops. The flip-flops should be a foam-like material, so nothing too solid otherwise you won’t be able to crochet into the base. Once you remove the straps of the flip-flop, take a sharp object – either a stiletto, a tiny knitting needle, a skewer, or a tapestry needle should do the trick. You’ll want to poke holes around the base of the flip-flop starting in the middle of the wedge and angling up about 1/4 of an inch into the sole. Space your holes around 1/4 inch apart.
Next, you’ll just crochet around the base and continue building up rounds of single crochets for about eight rows. See how to start the base of your moccasins in the video below! Be sure to watch part two at the bottom of the page.
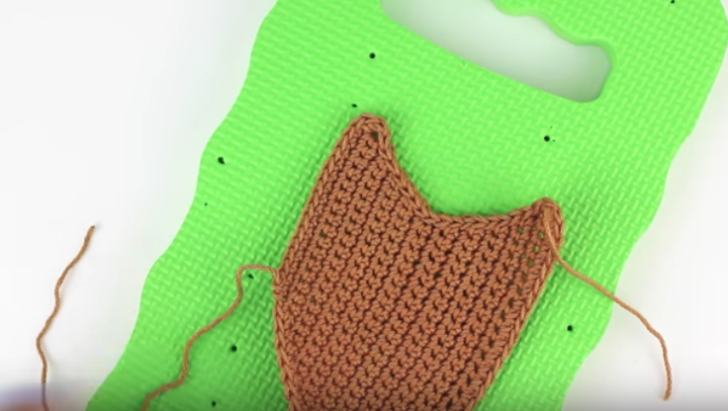
Now that you have the first part of your moccasin complete, it’s time to complete the crochet flap. You’ll make this part separately from the rest of the moccasin and attach it later on.
While this part of the project does require some shaping, don’t let that scare you off! Jess from the Make & Do Crew will show you how it’s done every step of the way.
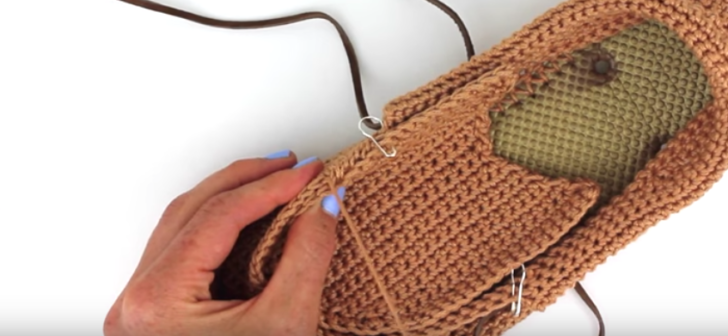
In the third and final installment of the moccasin pattern, you’ll learn how to assemble and put the finishing touches on your project! This tutorial is so detail oriented, I love it. We see how to attach the flap with a whip stitch so it looks exactly like an actual moccasin.
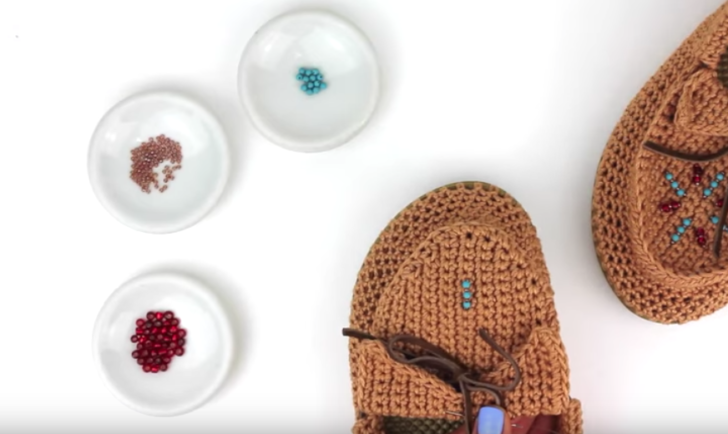
We also see how to attach the beads and the final cord that really pulls the whole look together. If you’ve already completed the first two videos, it’s time to finish off your project with the video below! Don’t forget to share photos of you finished project in the comments below. As always, happy crocheting, friends!
SKM: below-content placeholderWhizzco for CRH