
Store-bought fabric is nice, but what about making an entire quilt with T-shirts instead? This clever idea is both sentimental and savvy, as it’s a creative way to repurpose clothes that aren’t being worn anymore.
Read below for a few tips on making a T-shirt quilt, followed by a few links to more thorough instructions. Crafting this kind of quilt can be fun and easy, and it’s a great gift project too!
- Pick the shirts you want to use
You’ll need at least a dozen different shirts, with more depending on how big you want the quilt to be. Goose Track Quilts offers a helpful guide on how many shirts you’ll need for a throw, twin, full, queen, or king quilt (up to 42). You might need more or less, depending on how big you want to make each T-shirt square (the link uses 17-inch squares).Try to pick shirts without stains and that are made of the same material. You could a pick a theme ñ say, all baseball shirts ñ or try to find a color scheme between all the shirts. Or, you could simply pick some of the most sentimental without focusing too much on the colors matching.
- Choose your designLike any quilt, there is room for creativity in how you want to construct your quilt. Think about whether you want to use sashing, what kind of borders you want, etc. before sewing anything. Traditionally, the T-shirts are cut into squares, but you could also get creative with that shape and how it’s incorporated into the quilt.
- Decide on square sizeBefore you start cutting squares in your pile of shirts, you’ll want to create a standard square size that every shirt can meet. Find the smallest shirt and measure how big of a square it could make to determine the general size. In terms of inches, 15-17 square inches is a good size (consider room for seam allowances and borders).
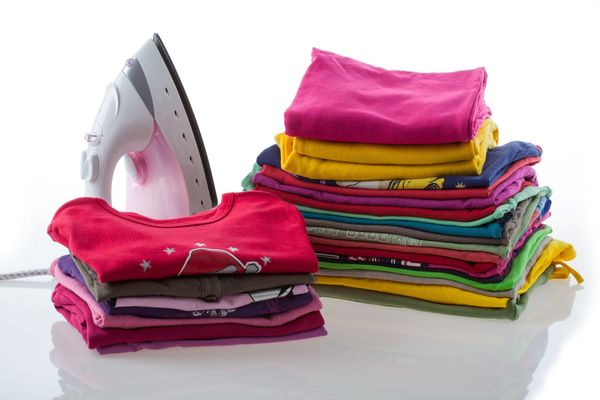
- Clean, iron, and cutOnce you have an idea of the square size, you can put your shirts through the laundry and iron them so they are nice and smooth. When you’re ready to cut, make sure to separate the front and back of the shirt and add a couple inches to your measurements to allow for the fusible interfacing.
- Fusible interfacingMake sure to back each shirt with fusible interfacing so that the fabric is nice and stiff. You can iron squares of this material onto the back of each shirt square so that it’ll stay sturdy while you’re sewing your quilt.
You can click here to read eHow’s thorough explanation of how to make a T-shirt quilt, or click here for a video tutorial from YouTube (the Goose Track Quilts link above also has good instructions). Piecing together the squares will likely come naturally, but these resources offer detailed explanations of the entire process.
Once you’re done, you’ll have quite the masterpiece! Don’t forget to share your creations with us!
SKM: below-content placeholderWhizzco for CRH